Travis CI is a popular continuous integration (CI) platform, especially for open-source projects on GitHub, automating builds, tests, and artifact generation. While it supports basic deployments through scripts, managing intricate multi-environment rollouts can lead to maintenance overhead. Jaws Deploy complements Travis CI by taking on the continuous deployment (CD) responsibilities, including release orchestration, lifecycle progression, variable scoping, and comprehensive monitoring.
In this integration, Travis CI handles the build phase (e.g., compiling code and creating .zip packages), while Jaws Deploy manages release creation and deployment. Use Jaws' REST API or PowerShell SDK for the connection—no native Travis plugin is required; embed scripts in your .travis.yml.
Note: As of April 1, 2025, Travis CI has discontinued macOS builds due to VMWare EOL, so focus on Linux or Windows executors for new setups.
This guide outlines prerequisites, setup, an example configuration, and best practices.
Why Integrate Travis CI with Jaws Deploy?
- Focused Expertise: Travis CI optimizes CI on GitHub-integrated workflows; Jaws specializes in CD with tags for targeting, reusable steps, and automated promotions.
- Streamlined Automation: Automatically trigger Jaws releases after builds, enhancing pipeline efficiency.
- Advanced Monitoring: Utilize Jaws' dashboards for deployment trends, logs, and history, beyond Travis' build outputs.
- Security and Scalability: Secure API access via service accounts, ideal for OSS or enterprise projects.
This pairing is great for .NET apps or web services where Travis builds artifacts and Jaws deploys to machines or cloud targets like Azure Web Apps.
Prerequisites
- A Jaws Deploy account (sign up at https://app.jawsdeploy.net/signup).
- A Travis CI account linked to your GitHub repo (free for public repos; paid for private).
- A Jaws project with steps, environments (e.g., Staging, Production), and optionally a package store.
- Travis repository settings for environment variables (secure ones encrypted).
- Travis executors with curl (standard on Linux) or PowerShell (on Windows or installed on Linux).
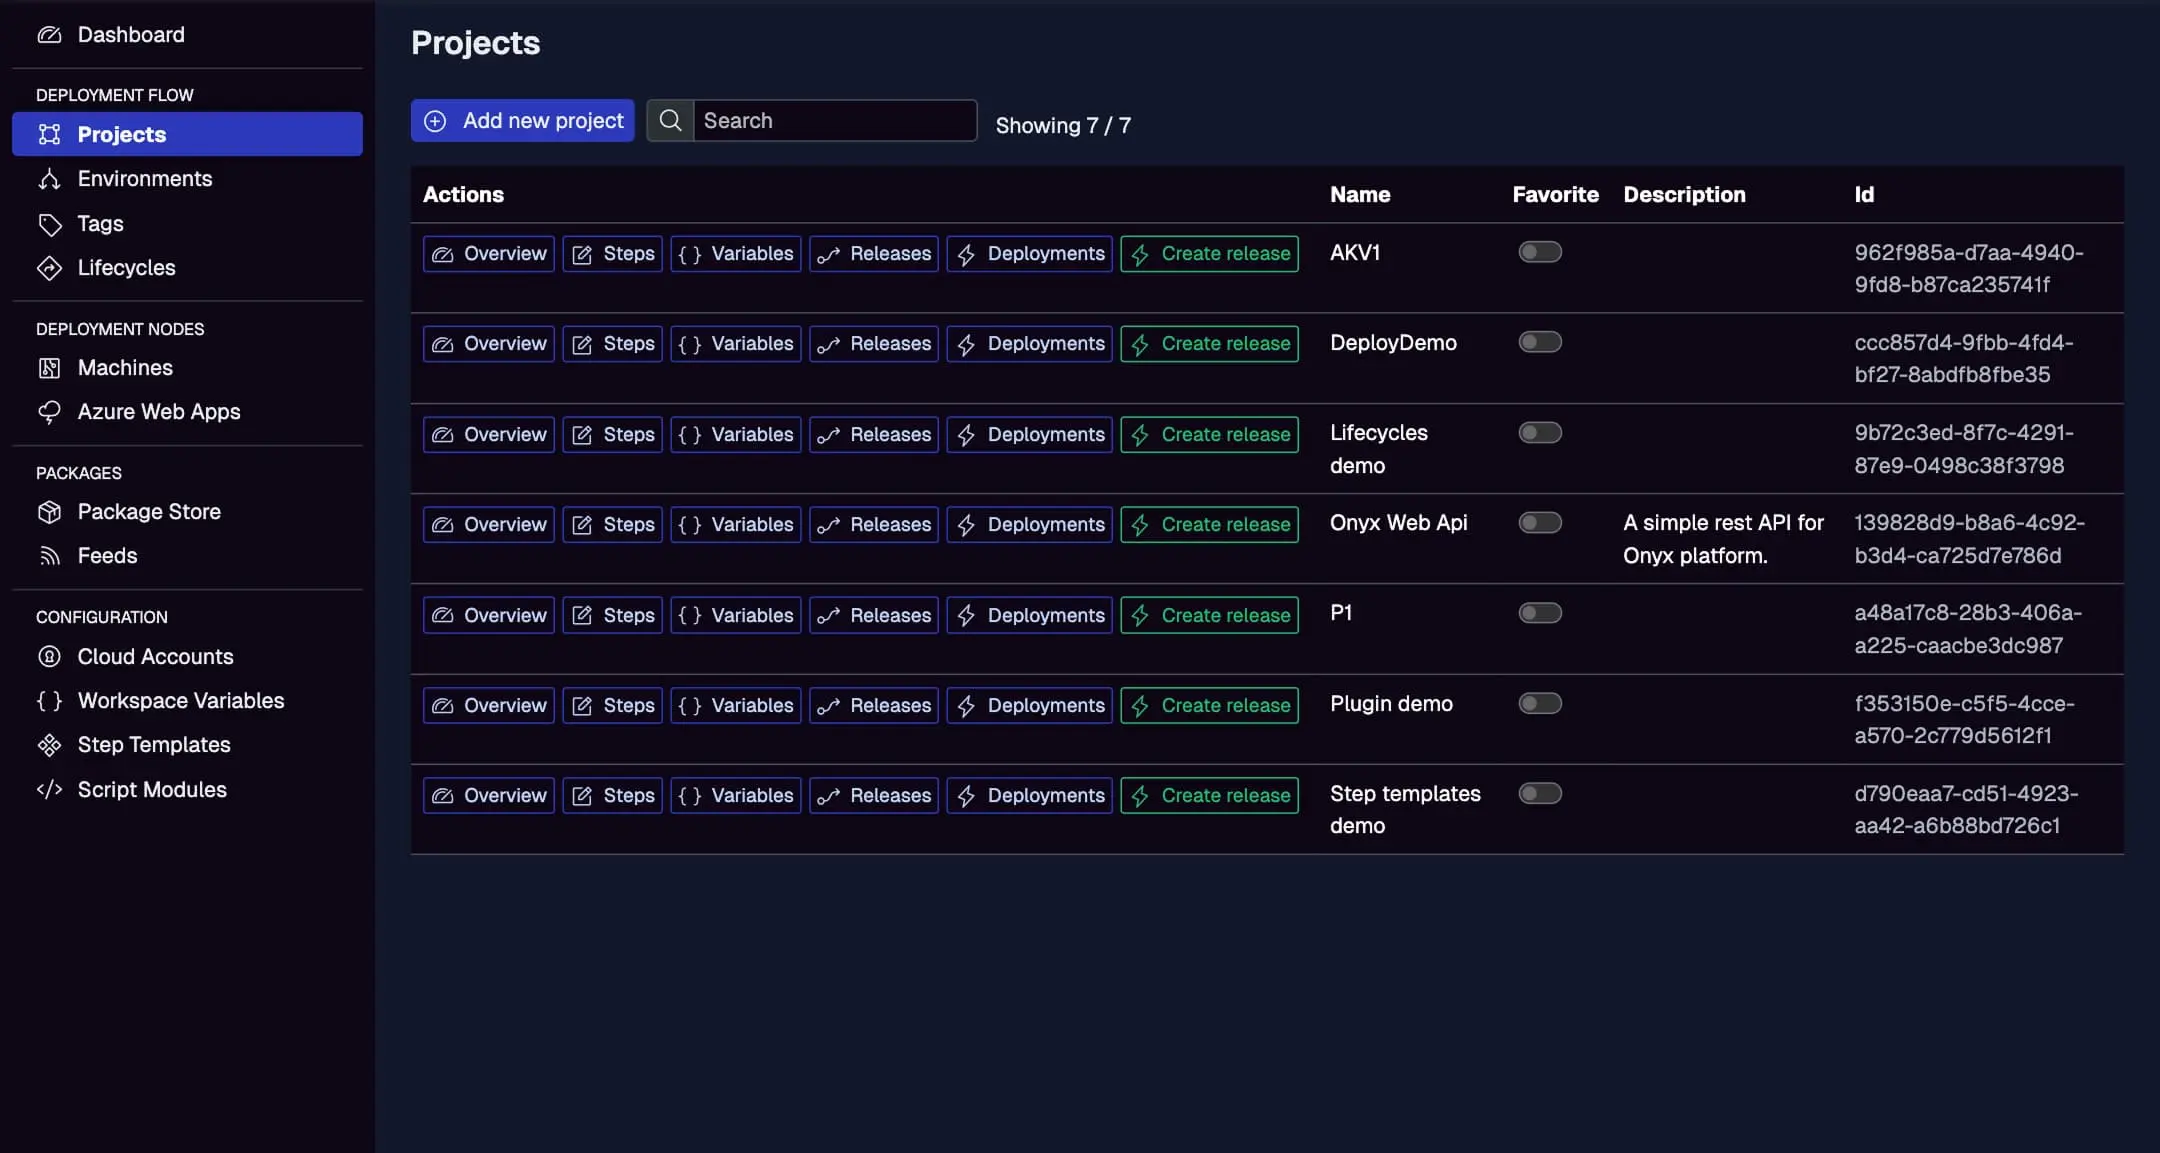
Prepare your Jaws project here, defining steps and variables.
Step 1: Create a Service Account in Jaws Deploy
For secure, scripted access:
- In Jaws, navigate to Settings > Service Accounts.
- Add a new account (e.g., "TravisDeployer") with permissions for release creation and deployment on relevant projects/workspaces.
- Copy the service account ID and API key.
In Travis CI:
- Go to your repository > Settings > Environment Variables.
- Add:
JAWS_API_LOGIN= service account ID (not encrypted if public).JAWS_API_PASSWORD= API key (use encrypted variables for security viatravis encryptCLI).
For encrypted vars: Run travis encrypt JAWS_API_PASSWORD=your_key --add env in your local CLI.
Refer to the Service Accounts and Automation Guide.
Step 2: Choose Your Integration Method
- REST API: Issue
curlcommands in bash scripts. Ideal for Linux executors. - PowerShell SDK: Import the SDK in scripts for commands like
Invoke-ReleaseAndDeployProject. Use Windows executors or install pwsh on Linux (viasudo apt install -y powershell).
We'll demonstrate REST with curl for simplicity, common in Travis setups.
Step 3: Set Up Your Travis CI Configuration
Create a .travis.yml in your repo root. This example builds a .NET app (using dotnet), packages it, uploads to Jaws, and deploys via REST.
Example .travis.yml
language: csharp  # Or node_js, python, etc., for your stack
dist: focal  # Ubuntu 20.04; use windows for PowerShell-native

env:
  global:
    secure: "your_encrypted_JAWS_API_PASSWORD"  # From travis encrypt

script:
  - dotnet build --configuration Release
  - dotnet publish -c Release -o out
  - zip -r app.zip out/

after_success:
  # Upload package to Jaws via REST (curl)
  - |
    auth=$(echo -n $JAWS_API_LOGIN:$JAWS_API_PASSWORD | base64)
    curl -X POST "<https://app.jawsdeploy.net/api/packagestore/package>" \\
      -H "Authorization: Basic $auth" \\
      -F "file=@app.zip" \\
      -F "packageId=my-app" \\
      -F "version=$TRAVIS_BUILD_NUMBER.0.0"  # Use build number for SemVer

deploy:
  provider: script
  script: bash -c "
    auth=$(echo -n $JAWS_API_LOGIN:$JAWS_API_PASSWORD | base64)
    curl -X POST \\"<https://app.jawsdeploy.net/api/release\\>" \\
      -H \\"Authorization: Basic $auth\\" \\
      -H \\"Content-Type: application/json\\" \\
      -d '{\\"projectId\\": \\"your-project-id\\", \\"version\\": \\"$TRAVIS_BUILD_NUMBER.0.0\\", \\"packageVersions\\": {\\"my-app\\": \\"$TRAVIS_BUILD_NUMBER.0.0\\"}}'
    # Extract releaseId from response if needed, then:
    curl -X POST \\"<https://app.jawsdeploy.net/api/release/deploy\\>" \\
      -H \\"Authorization: Basic $auth\\" \\
      -H \\"Content-Type: application/json\\" \\
      -d '{\\"releaseId\\": \\"extracted-release-id\\", \\"environments\\": [\\"Staging\\"]}'
    "
  on:
    branch: main
Key Explanations
- Script Section: Builds, publishes, and zips the artifact.
- After Success: Uploads to Jaws' package store using curl with Basic Auth.
- Deploy Section: Custom script provider to create a release and deploy to Staging via sequential curl calls. Parse the release creation response (e.g., with jq if installed) to get releaseId.
- Versioning: Leverages
$TRAVIS_BUILD_NUMBERfor traceability. - Secure Vars: Access encrypted password via
$JAWS_API_PASSWORD.
For PowerShell SDK (on Windows executor):Add os: windows to yml, and use a PowerShell script step:
script:
  - pwsh -Command "Invoke-WebRequest -Uri '<https://github.com/JawsDeploy/powershell-sdk/raw/main/JawsDeploySdk.psm1>' -OutFile 'JawsDeploySdk.psm1'"
  - pwsh -Command "Import-Module ./JawsDeploySdk.psm1; Invoke-ReleaseAndDeployProject -projectId 'your-project-id' -version '$TRAVIS_BUILD_NUMBER.0.0' -environmentName 'Staging'"
Adapt endpoints from the API Reference.
Step 4: Test and Monitor
- Commit your .travis.yml and push to trigger a build.
- Monitor Travis logs for execution.
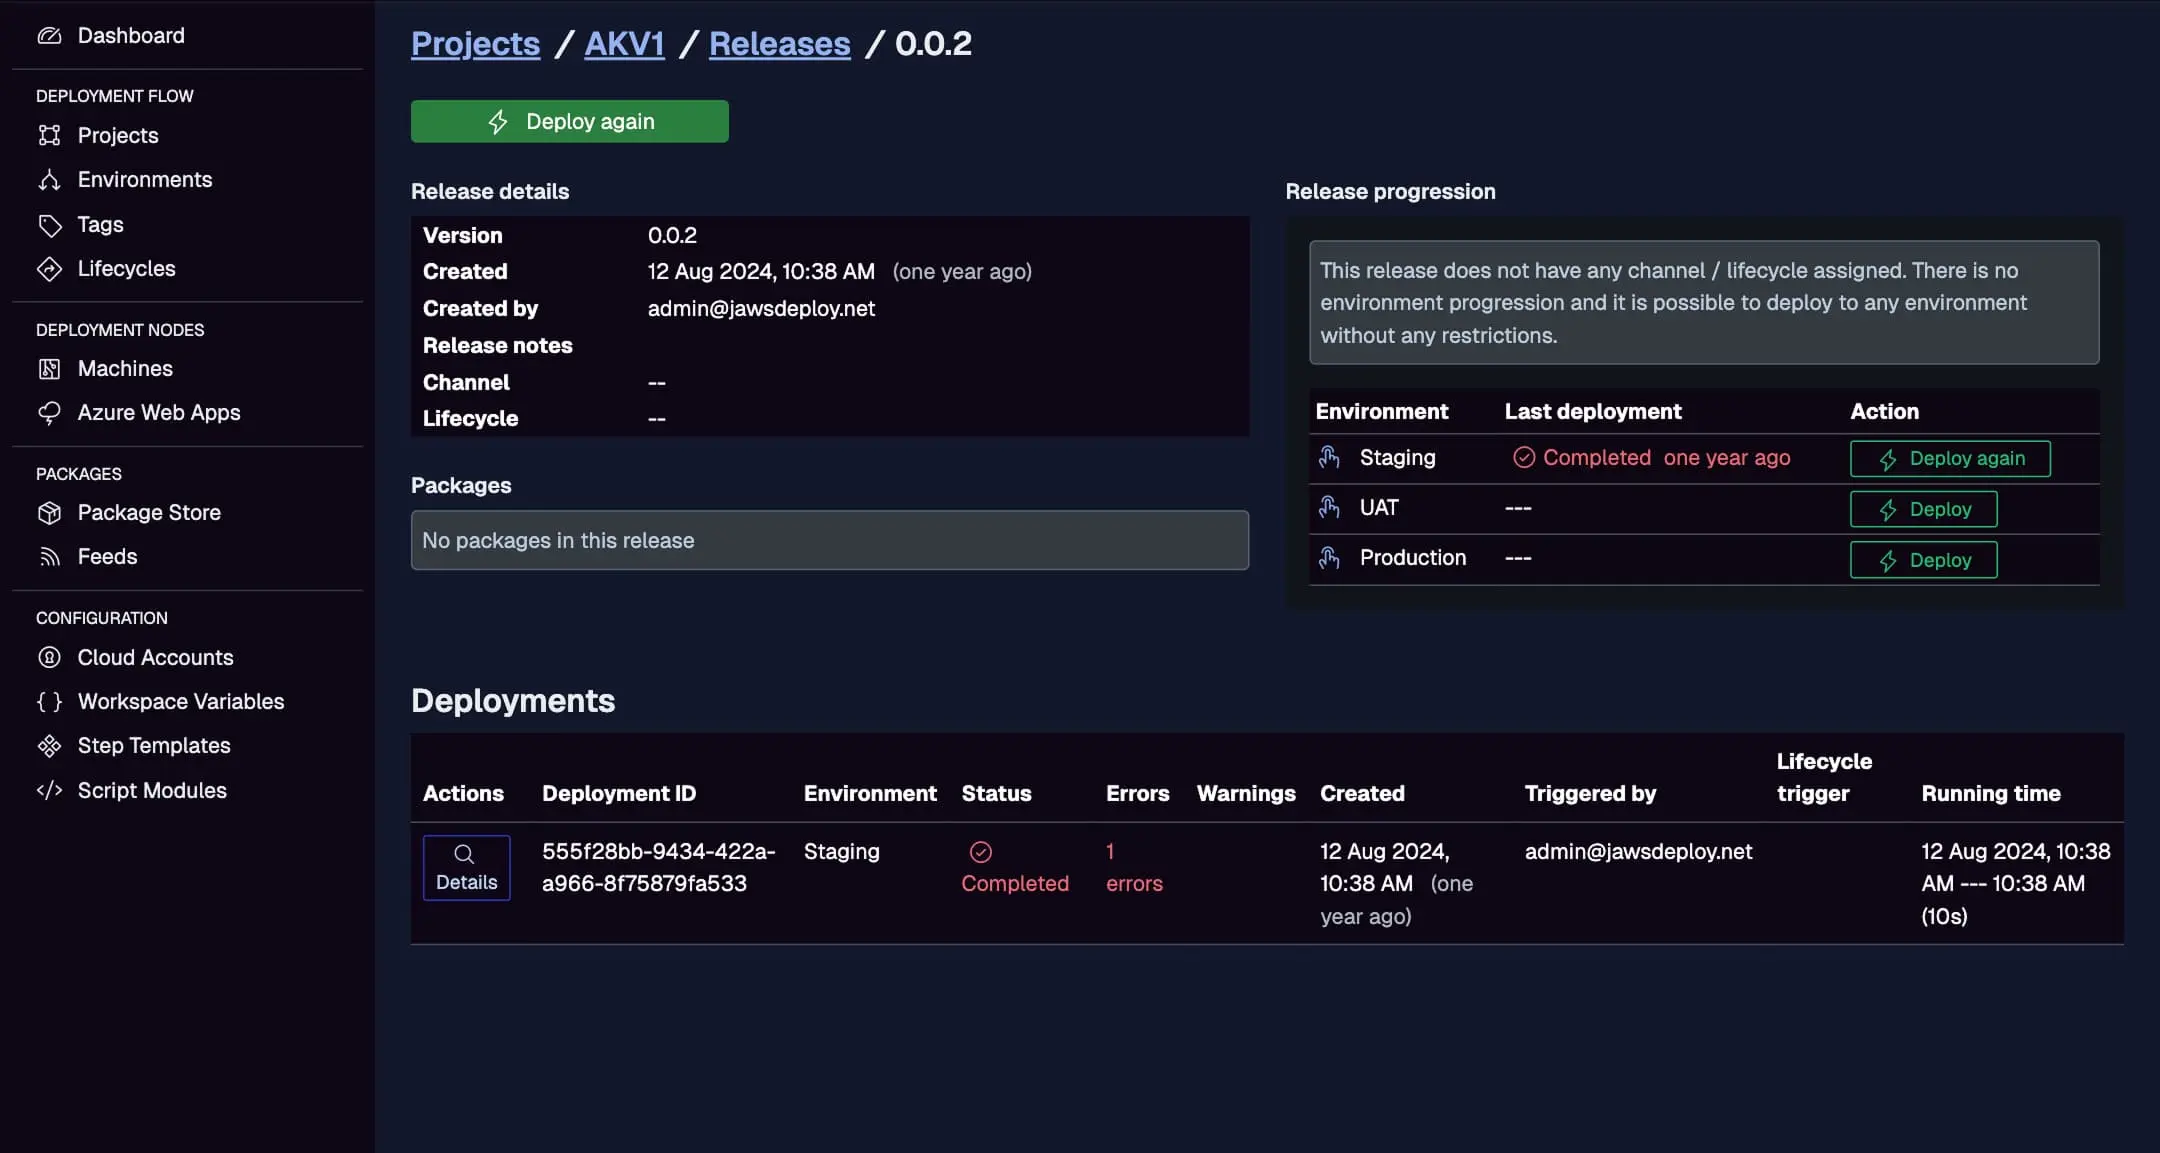
- In Jaws, check the Deployments tab for status and logs.
View Travis-triggered deploys here, with creation times, statuses, and errors.
Enable debug mode in Jaws by setting __debug to true for detailed variable and step context.
Best Practices
- Encryption: Always encrypt sensitive vars with
travis encryptto prevent exposure in public repos. - Branch Filtering: Use
on: branch: mainfor Production deploys; add conditions for tags. - Artifacts: Upload to Travis artifacts for backups; ensure versions sync with Jaws.
- Error Handling: Add checks in scripts (e.g.,
set -ein bash) to fail on issues. - Executors: Use
os: windowsfor PowerShell-heavy setups; install dependencies as needed. - Testing: Run local with
travis lintand simulate builds.
Troubleshooting Common Issues
- Auth Problems: Confirm encrypted vars decrypt correctly; test Base64 in isolation.
- Package Failures: Verify file paths and API parameters.
- PowerShell Missing: Install via script on Linux (
apt update && apt install -y powershell). - Build Timeouts: Split steps or optimize for faster execution.
- Logs: Use Jaws' UI for deployment-specific details.
Consult Travis docs or our API Reference.
Conclusion
Integrating Jaws Deploy with Travis CI enhances your CI/CD pipeline, combining Travis' GitHub-friendly builds with Jaws' robust deployments.
For broader integrations, see the CI/CD Integration Guide. Configure your .travis.yml today! If new to Jaws, begin with the Getting Started guide.