Azure Pipelines, part of Azure DevOps, is a versatile CI/CD service for building, testing, and deploying code across platforms. It's excellent for the continuous integration (CI) phase but can become script-heavy for intricate deployments involving multiple environments, configurations, and targets. Jaws Deploy enhances this by specializing in continuous deployment (CD), managing releases, lifecycles, variable scoping, and real-time monitoring.
In this integration, Azure Pipelines handles builds and artifact creation (e.g., .zip packages), while Jaws Deploy orchestrates the release and deployment. Use Jaws' REST API or PowerShell SDK for automation—no native Azure extension is required; incorporate script tasks in your pipelines.
This guide details prerequisites, setup, an example pipeline, and tips for effective integration.
Why Integrate Azure Pipelines with Jaws Deploy?
- Optimized Workflow: Azure Pipelines excels at CI; Jaws focuses on CD with features like tags for precise targeting and lifecycles for automated progression.
- End-to-End Automation: Automatically create and deploy releases after successful builds, minimizing manual steps.
- Advanced Visibility: Leverage Jaws' dashboards for deployment history, trends, and logs, extending Azure's task outputs.
- Native Azure Synergy: Seamlessly deploy to Azure Web Apps or VMs, with shared Azure credentials for simplicity.
This combination is ideal for .NET, cloud-native apps, or hybrid setups where Azure builds artifacts and Jaws deploys them reliably.
Prerequisites
- A Jaws Deploy account (sign up at https://app.jawsdeploy.net/signup).
- An Azure DevOps organization and project with Pipelines enabled.
- A Jaws project configured with steps, environments (e.g., Staging, Production), and a package store if using packages.
- Azure Pipelines variables or variable groups for secrets.
- A self-hosted or Microsoft-hosted agent with PowerShell (default on most agents) or curl for REST.
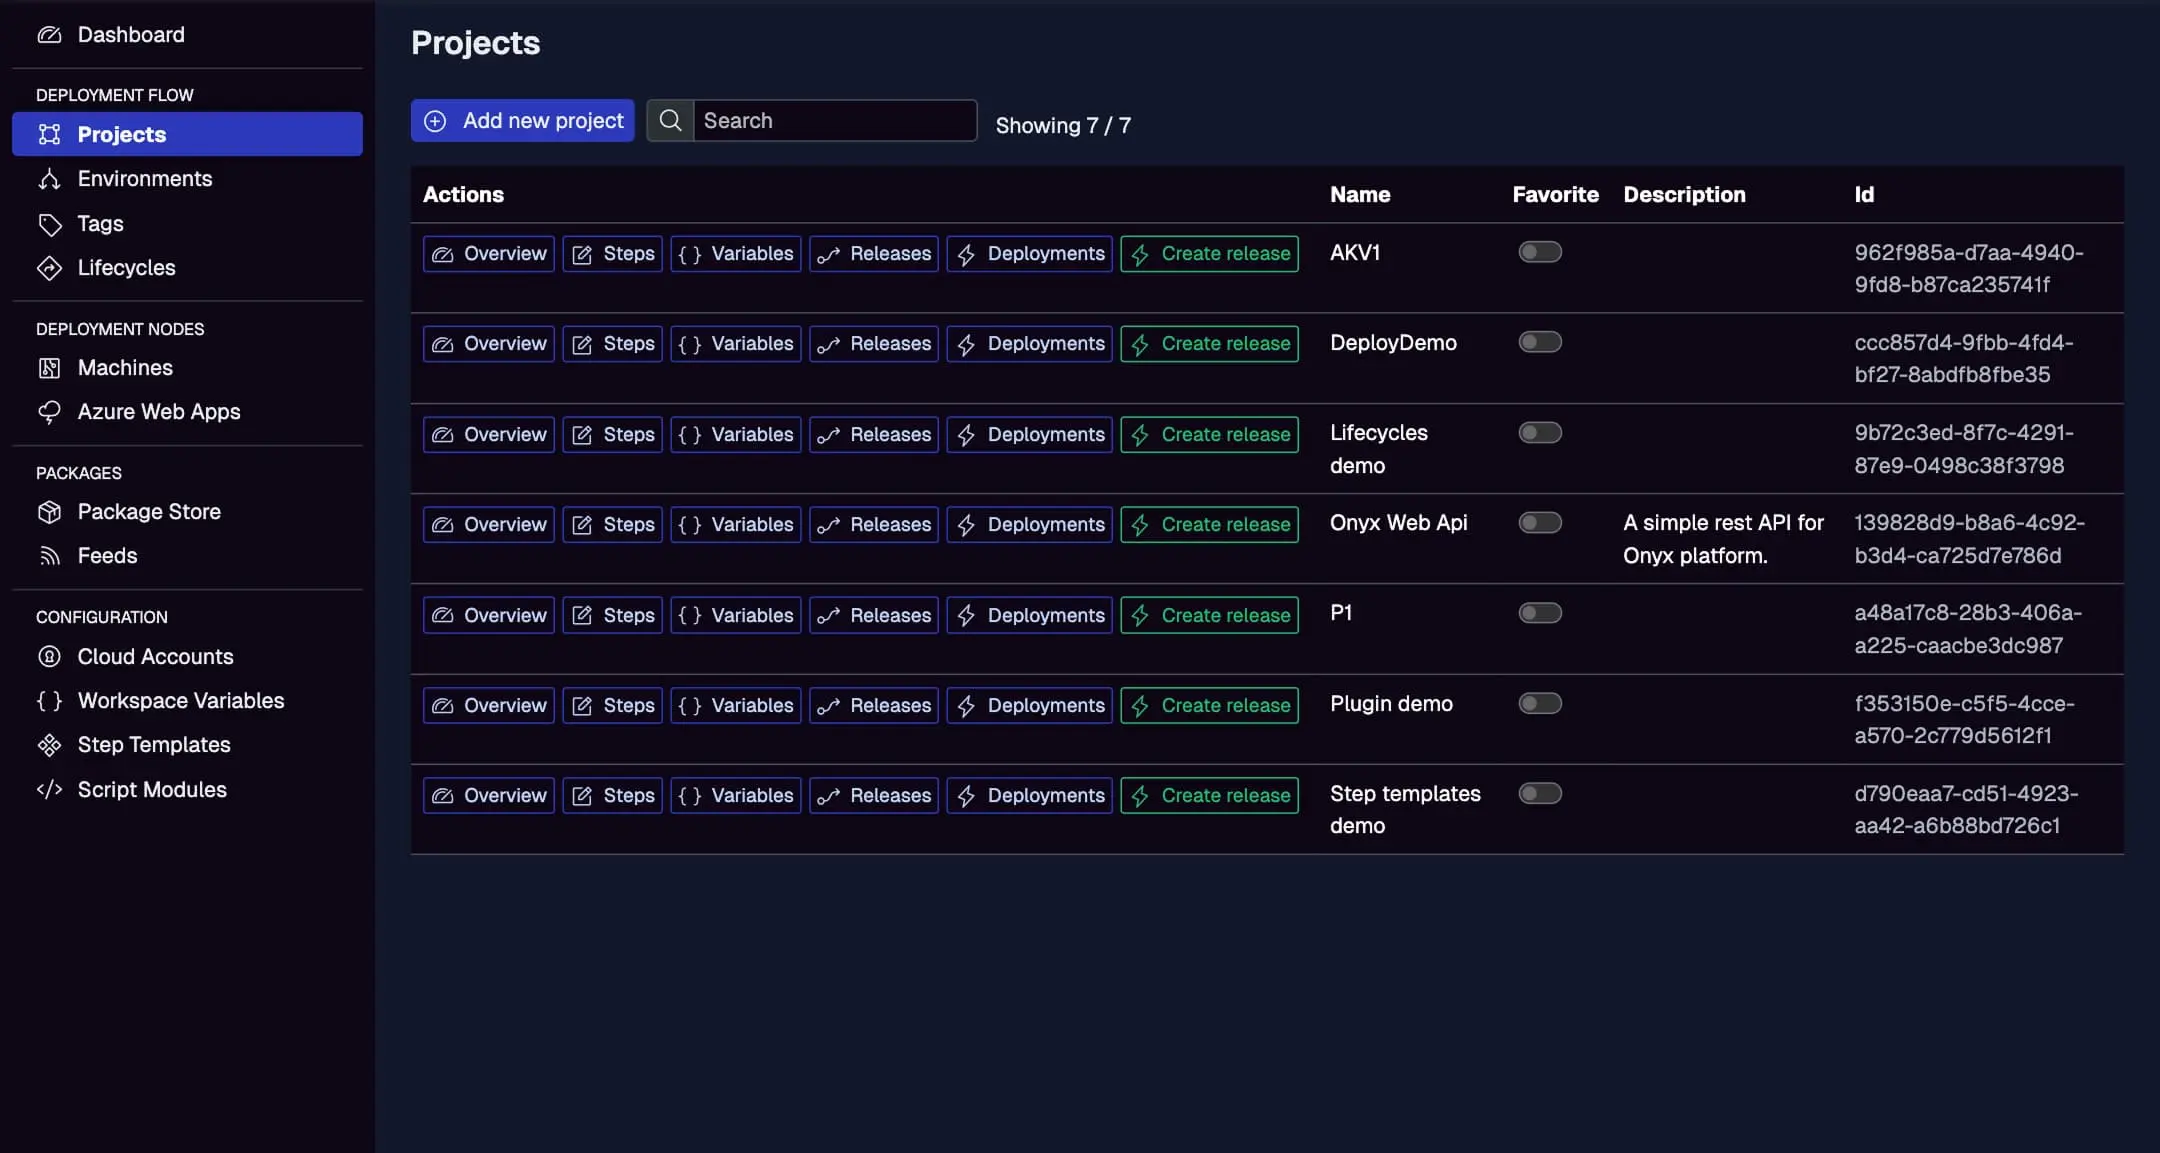
Ensure your Jaws project is ready here, including steps, variables, and environments.
Step 1: Create a Service Account in Jaws Deploy
Service accounts enable secure API access from pipelines.
- In Jaws, head to Settings > Service Accounts.
- Add a new account (e.g., "AzurePipelinesDeployer") with permissions for release and deployment actions on specific projects/workspaces.
- Copy the service account ID and API key.
In Azure DevOps:
- Go to your project > Pipelines > Library > Variable groups (or use pipeline variables).
- Create a group (e.g., "JawsCreds") with:
JAWS_API_LOGIN= service account ID (secret).JAWS_API_PASSWORD= API key (secret).
Link this group to your pipeline for secure access.
For details, see the Service Accounts and Automation Guide.
Step 2: Choose Your Integration Method
- REST API: Direct HTTP requests via
curlin bash or PowerShell tasks. Versatile for any agent. - PowerShell SDK: Import the SDK in scripts for simplified commands like
Invoke-ReleaseAndDeployProject. Suited for Windows agents or cross-platform with PowerShell Core.
The example uses the SDK, with REST notes provided.
Step 3: Set Up Your Azure Pipeline
Create a YAML pipeline in Azure DevOps (e.g., azure-pipelines.yml in your repo). This example builds a .NET app, packages it, uploads to Jaws, and deploys.
Example azure-pipelines.yml
trigger:
- main

pool:
  vmImage: 'windows-latest'  # Or ubuntu-latest for Linux

variables:
- group: JawsCreds  # Your variable group with creds

stages:
- stage: Build
  jobs:
  - job: BuildJob
    steps:
    - task: DotNetCoreCLI@2
      inputs:
        command: 'build'
        projects: '**/*.csproj'
        arguments: '--configuration Release'
    - task: DotNetCoreCLI@2
      inputs:
        command: 'publish'
        publishWebProjects: false
        projects: '**/*.csproj'
        arguments: '--configuration Release --output $(Build.ArtifactStagingDirectory)/out'
    - task: ArchiveFiles@2
      inputs:
        rootFolderOrFile: '$(Build.ArtifactStagingDirectory)/out'
        includeRootFolder: false
        archiveType: 'zip'
        archiveFile: '$(Build.ArtifactStagingDirectory)/app.zip'
    # Upload package to Jaws via REST (PowerShell task with curl)
    - task: PowerShell@2
      inputs:
        targetType: 'inline'
        script: |
          $auth = [Convert]::ToBase64String([Text.Encoding]::ASCII.GetBytes("$env:JAWS_API_LOGIN:$env:JAWS_API_PASSWORD"))
          curl.exe -X POST "<https://app.jawsdeploy.net/api/packagestore/package>" `
            -H "Authorization: Basic $auth" `
            -F "file=@$(Build.ArtifactStagingDirectory)/app.zip" `
            -F "packageId=my-app" `
            -F "version=$(Build.BuildNumber).0.0"  # Use build number for SemVer

- stage: Deploy
  dependsOn: Build
  jobs:
  - job: DeployJob
    steps:
    # Deploy via PowerShell SDK
    - task: PowerShell@2
      inputs:
        targetType: 'inline'
        script: |
          # Download and import SDK
          Invoke-WebRequest -Uri "<https://github.com/JawsDeploy/powershell-sdk/raw/main/JawsDeploySdk.psm1>" -OutFile "JawsDeploySdk.psm1"
          Import-Module ./JawsDeploySdk.psm1

          # Set credentials
          $env:JAWS_API_LOGIN = $env:JAWS_API_LOGIN
          $env:JAWS_API_PASSWORD = $env:JAWS_API_PASSWORD

          # Create release and deploy
          $projectId = "your-project-id"  # From Jaws Projects page
          $version = "$(Build.BuildNumber).0.0"
          $response = Invoke-ReleaseAndDeployProject -projectId $projectId -version $version -environmentName "Staging"
          Write-Output $response
Key Explanations
- Build Stage: Builds, publishes, zips the artifact, and uploads to Jaws' package store using
curlin a PowerShell task with Basic Auth from variables. - Deploy Stage: Downloads/imports the SDK, sets creds, and calls
Invoke-ReleaseAndDeployProjectto create a release and deploy to Staging. - Versioning: Uses Azure's
$(Build.BuildNumber)for traceable SemVer. - Agent: Windows-latest includes PowerShell and curl; adapt for Ubuntu if needed.
For pure REST, replace the deploy script with curl commands:
$auth = [Convert]::ToBase64String([Text.Encoding]::ASCII.GetBytes("$env:JAWS_API_LOGIN:$env:JAWS_API_PASSWORD"))
curl.exe -X POST "<https://app.jawsdeploy.net/api/release>" `
  -H "Authorization: Basic $auth" `
  -H "Content-Type: application/json" `
  -d "{\\"projectId\\": \\"your-project-id\\", \\"version\\": \\"$(Build.BuildNumber).0.0\\", \\"packageVersions\\": {\\"my-app\\": \\"$(Build.BuildNumber).0.0\\"}}"
# Follow with curl for /api/release/deploy
Reference the API Reference for endpoints.
Step 4: Test and Monitor
- Commit your YAML and queue a build in Azure Pipelines.
- Review task logs in Azure.
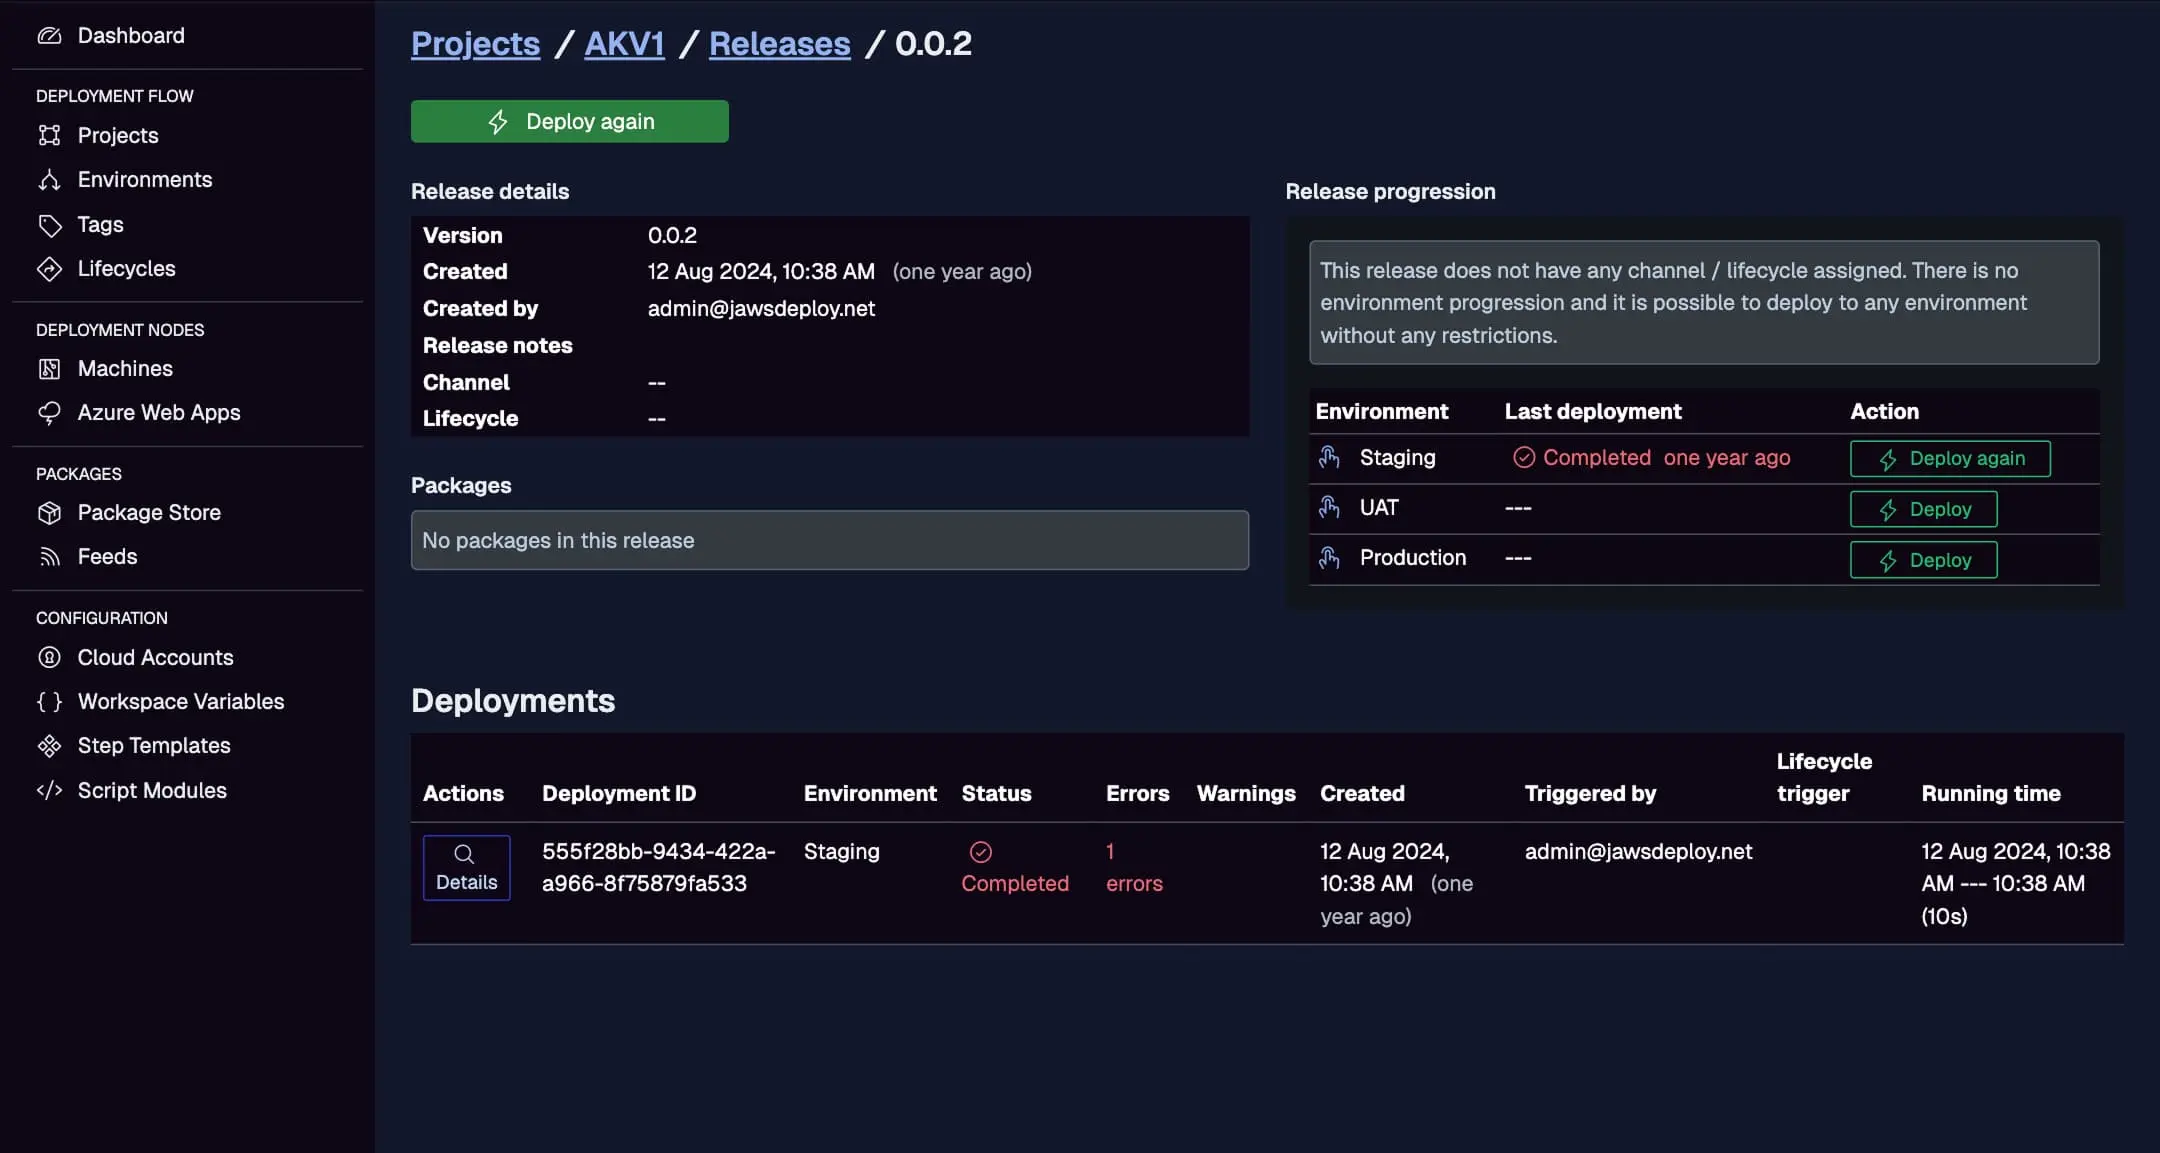
- In Jaws, check the Deployments tab for live status and logs.
Monitor Azure-triggered deploys here, with creation times, statuses, and durations.
For debugging, add a __debug variable set to true in your Jaws project to expand logs with full context.
Best Practices
- Secret Management: Use variable groups with secrets; enable approvals for Production stages.
- Conditional Execution: Add gates or environments in Azure for Production deploys (e.g., manual approval tasks).
- Artifact Publishing: Publish artifacts in Azure for backups; sync versions with Jaws.
- Error Propagation: Use
errorActionPreference: 'Stop'in PowerShell for better handling. - Agent Selection: Choose agents matching your build (e.g., windows for .NET).
- Scaling: Parameterize pipelines for multiple projects; use templates for reuse.
Troubleshooting Common Issues
- Authentication Errors: Confirm variable scopes and Base64 encoding.
- Package Upload Fails: Verify file paths and API parameters.
- SDK Import Issues: Ensure network access; cache the SDK if possible.
- Pipeline Timeouts: Break into smaller tasks or optimize steps.
- Logs: Use Jaws' UI for detailed insights; enable verbose output in scripts.
Check Azure docs or our API Reference.
Conclusion
Integrating Azure Pipelines with Jaws Deploy creates a powerful, Azure-centric CI/CD flow, where builds transition seamlessly to orchestrated deployments.
For additional integrations, see the CI/CD Integration Guide. Set up your pipeline today! If you're starting out, explore the Getting Started guide.