TeamCity is a powerful continuous integration (CI) server from JetBrains, known for its flexibility in building, testing, and artifact management. While it can handle basic deployments via plugins or scripts, complex multi-environment orchestration often requires a dedicated tool. Jaws Deploy integrates natively with TeamCity to manage the continuous deployment (CD) phase, handling releases, promotions, variable scoping, and monitoring.
This integration lets TeamCity focus on builds (e.g., compiling code and creating packages), while Jaws Deploy orchestrates deployments. Jaws provides a first-class TeamCity plugin, PowerShell SDK, or REST API options. A dedicated guide exists for this setup, making it straightforward for .NET teams or those with Windows/Linux agents.
Why Integrate TeamCity with Jaws Deploy?
- Native Support: Use the official plugin for seamless build steps, or SDK/API for custom logic.
- Automated Releases: Create and deploy releases automatically post-build, with options for promotion.
- Enhanced CD Features: Leverage Jaws' lifecycles, tags, and dashboards for progression and visibility.
- Efficiency: Reduce script maintenance in TeamCity; centralize deployment logic in Jaws.
Ideal for scenarios like deploying .NET apps to Azure or on-prem servers after TeamCity builds.
Prerequisites
- Administrative access to TeamCity (version 2021.2+; 2022.10+ recommended).
- Access to a Jaws Deploy instance (cloud or self-hosted).
- A Jaws project with steps, environments (e.g., Staging, Production), and optionally a package store.
- TeamCity agents with PowerShell (for SDK) or curl (for REST).
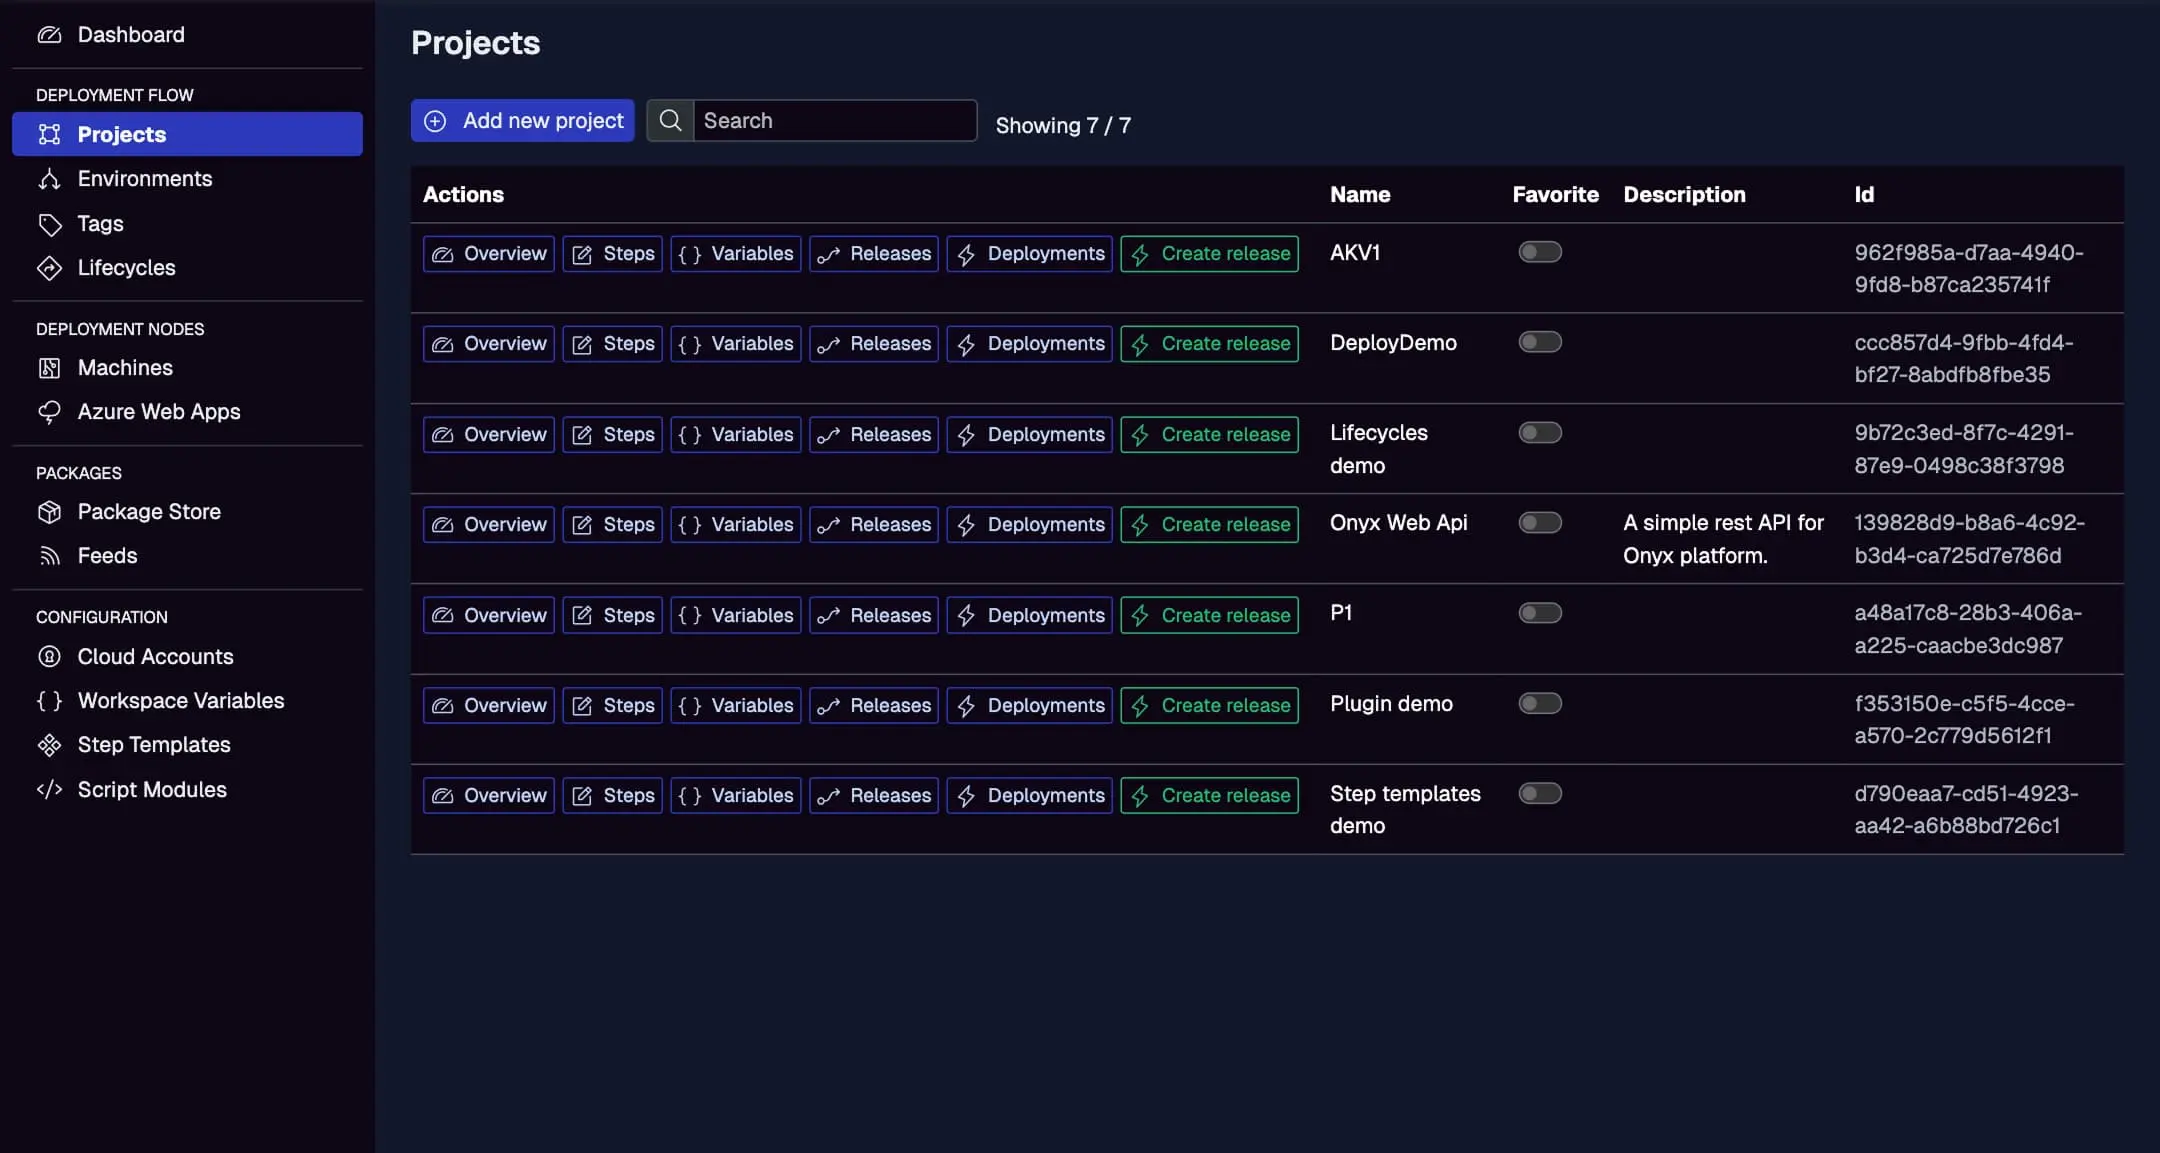
Set up your Jaws project here before integrating.
Step 1: Create a Service Account in Jaws Deploy
For secure automation:
- In Jaws, go to Settings > Service Accounts.
- Add a new account (e.g., "TeamCityDeployer") with permissions for release creation, deployment, and promotion on relevant projects/workspaces.
- Copy the Service Account ID and API Key.
In TeamCity:
- Use build parameters (e.g.,
%JawsDeployLogin%for ID,%JawsDeployApiKey%for key) stored securely via configuration parameters or encrypted values.
Step 2: Choose Your Integration Method
- TeamCity Plugin: Easiest for standard workflows; adds Jaws-specific build steps.
- PowerShell SDK: For scripted flexibility; zero-dependency module with high-level commands.
- REST API: For raw control; use HTTP calls in any runner (bash, PowerShell, etc.).
We'll cover the plugin and SDK primarily, as they're recommended.
Step 3: Set Up the Integration in TeamCity
Using the TeamCity Plugin
- Download the plugin ZIP from https://github.com/JawsDeploy/jawsdeploy-teamcity-plugin.
- In TeamCity: Administration > Plugins > Upload plugin zip, then enable it.
- In your build configuration, add a new build step and select "Jaws Deploy."
- Configure:
- API Base URL:
https://app.jawsdeploy.net(or your instance). - Login:
%JawsDeployLogin%(Service Account ID). - API Key:
%JawsDeployApiKey%. - Operation: "Create & Deploy" or "Promote."
- Project ID: Your Jaws project ID (from the app UI).
- Version: SemVer (e.g.,
%build.number%); auto-generates if blank. - Channel name: Optional for lifecycle.
- Environments: Comma-separated (e.g., "Staging").
- Release notes: Optional text.
- Redownload packages: True to force re-download.
- Exclude step names: Comma-separated steps to skip.
- API Base URL:
Example configuration for "Create & Deploy":
- Operation: Create & Deploy
- Project ID: abc123
- Version: %build.number%
- Environments: Staging
Run the build; logs show deployment progress.
Using the PowerShell SDK
- Add a VCS root in TeamCity to https://github.com/JawsDeploy/powershell-sdk (checkout the .psm1 file).
- Use checkout rules like
+:JawsDeploySdk.psm1 => ./_teamcityto place it neatly. - Add a PowerShell build step with script like:
# Set env vars (or use parameters)
$env:JAWS_API_BASE_URL = "%JawsDeployApiUrl%"
$env:JAWS_API_LOGIN = "%JawsDeployLogin%"
$env:JAWS_API_PASSWORD = "%JawsDeployApiKey%"

# Import SDK
Import-Module -Name (Join-Path "." _teamcity JawsDeploySdk.psm1)

# Create and deploy release
$projectId = "%MyApp_ProjectId%"
$jawsEnv = "%DeploymentEnvironment%"
$resp = Invoke-ReleaseAndDeployProject -projectId $projectId -version "%build.number%" -environmentName $jawsEnv
Write-Host $resp

# Or promote latest release
$resp = Invoke-PromoteRelease -projectId $projectId -environmentName $jawsEnv
Write-Host $resp

# Promote specific version
$resp = Invoke-PromoteRelease -projectId $projectId -environmentName $jawsEnv -version "%build.number%"
Write-Host $resp
Adapt for your build (e.g., after artifact creation and upload via API).
Using REST API (Alternative)
In a Command Line or PowerShell step, use curl or Invoke-WebRequest for endpoints like /api/release and /api/release/deploy. Base auth with encoded credentials.
Step 4: Test and Monitor
- Queue a TeamCity build.
- Check build logs for Jaws outputs.
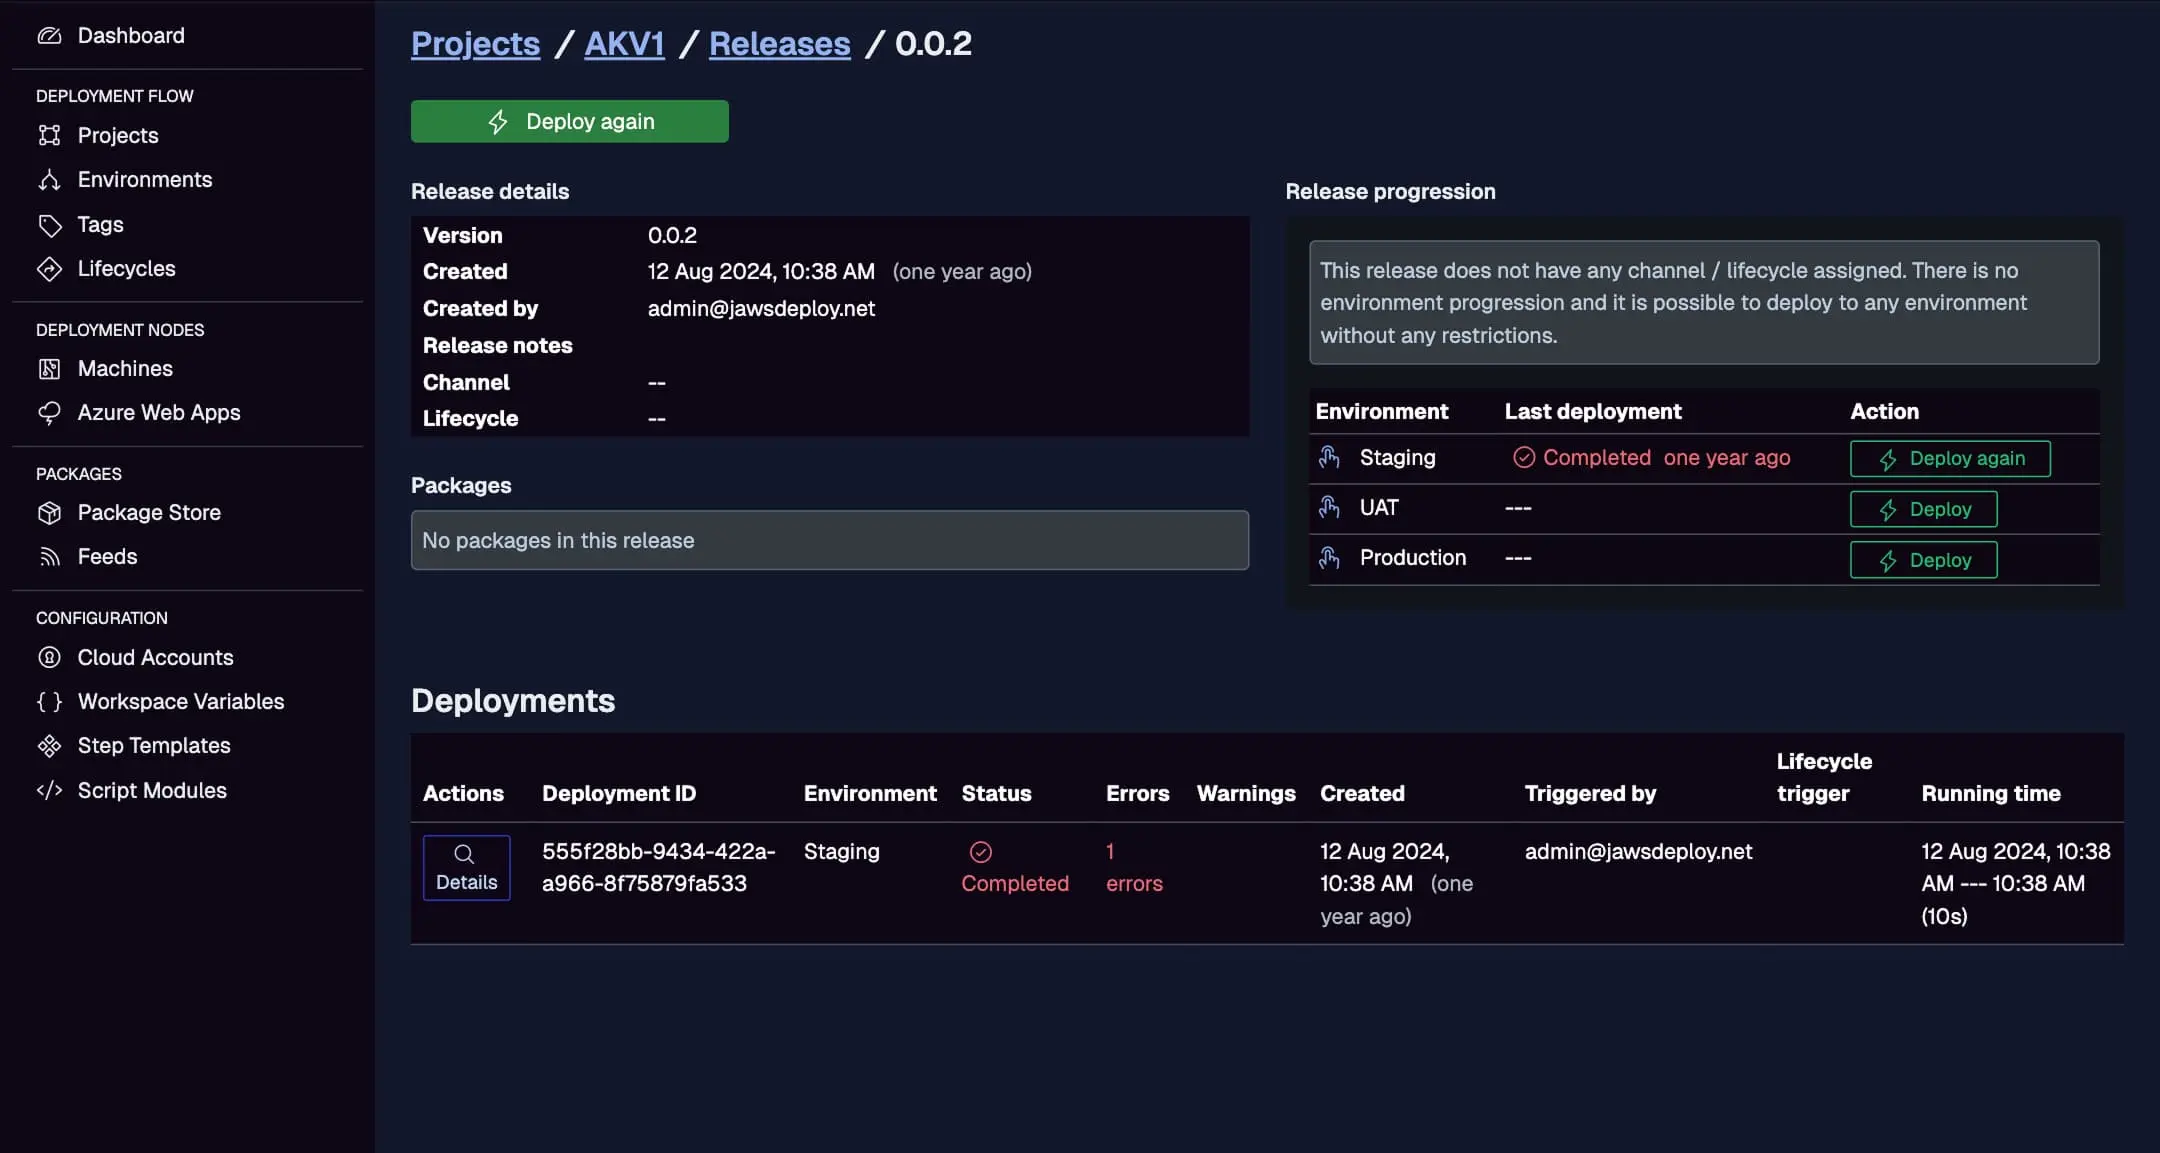
- In Jaws, view the Deployments tab for details.
Track TeamCity-initiated deploys here, with triggers like "TeamCity."
Set __debug to true in Jaws variables for verbose logs.
Best Practices
- Use TeamCity parameters for all configurable values (e.g., project ID, environments) to make builds flexible.
- Store credentials as encrypted parameters to avoid exposure.
- Chain builds: Use one for CI, trigger another for CD with artifacts.
- For promotions, use "Promote" operation after manual reviews.
- Test in a non-prod environment first; monitor agent compatibility (e.g., PowerShell on Windows agents).
Troubleshooting Common Issues
- Plugin Not Loading: Ensure TeamCity version compatibility; restart server.
- Auth Errors: Verify service account scopes and parameter resolution.
- SDK Import Fails: Check VCS checkout; use full paths.
- Deployment Fails: Review Jaws logs for step-specific issues.
- Version Conflicts: Use unique SemVer; enable auto-generation if needed.
Conclusion
Integrating Jaws Deploy with TeamCity creates a robust CI/CD pipeline, leveraging TeamCity's build power and Jaws' deployment orchestration.
For details, see the official Integrate Jaws Deploy with TeamCity guide. Explore more in the CI/CD Integration Guide. Set it up and automate your releases! New to Jaws? Try Getting Started.