Jenkins is a widely used open-source automation server for continuous integration (CI), excelling at building, testing, and packaging code. However, when it comes to orchestrating complex deployments across multiple environments, configurations, and targets, it can become unwieldy with custom scripts and plugins. Jaws Deploy complements Jenkins by handling the continuous deployment (CD) side, managing releases, lifecycles, variables, and monitoring in a dedicated platform.
In this integration, Jenkins focuses on the build process (e.g., compiling code and creating artifacts like .zip packages), while Jaws Deploy takes over for release creation and deployment. We'll use Jaws' REST API or the PowerShell SDK for seamless handover. No dedicated Jenkins plugin is required—leverage built-in shell or PowerShell steps in your pipelines.
This guide covers prerequisites, setup, an example Jenkins pipeline, and best practices to automate your workflow.
Why Integrate Jenkins with Jaws Deploy?
- Clear Separation of Concerns: Jenkins handles CI efficiently; Jaws specializes in CD with features like environment scoping, tags, and reusable steps.
- Automation and Reliability: Trigger Jaws releases automatically post-build, reducing manual intervention and errors.
- Enhanced Features: Gain Jaws' dashboard for deployment visibility, history, and trends—beyond Jenkins' console logs.
- Flexibility: Works with freestyle jobs or declarative pipelines; supports Windows/Linux agents.
This setup is perfect for .NET apps, web services, or any project where Jenkins builds artifacts and Jaws deploys them to machines or cloud targets like Azure Web Apps.
Prerequisites
- A Jaws Deploy account (sign up at https://app.jawsdeploy.net/signup).
- Jenkins installed with the PowerShell Plugin (for SDK usage) or basic shell support.
- A Jenkins pipeline project (declarative or scripted).
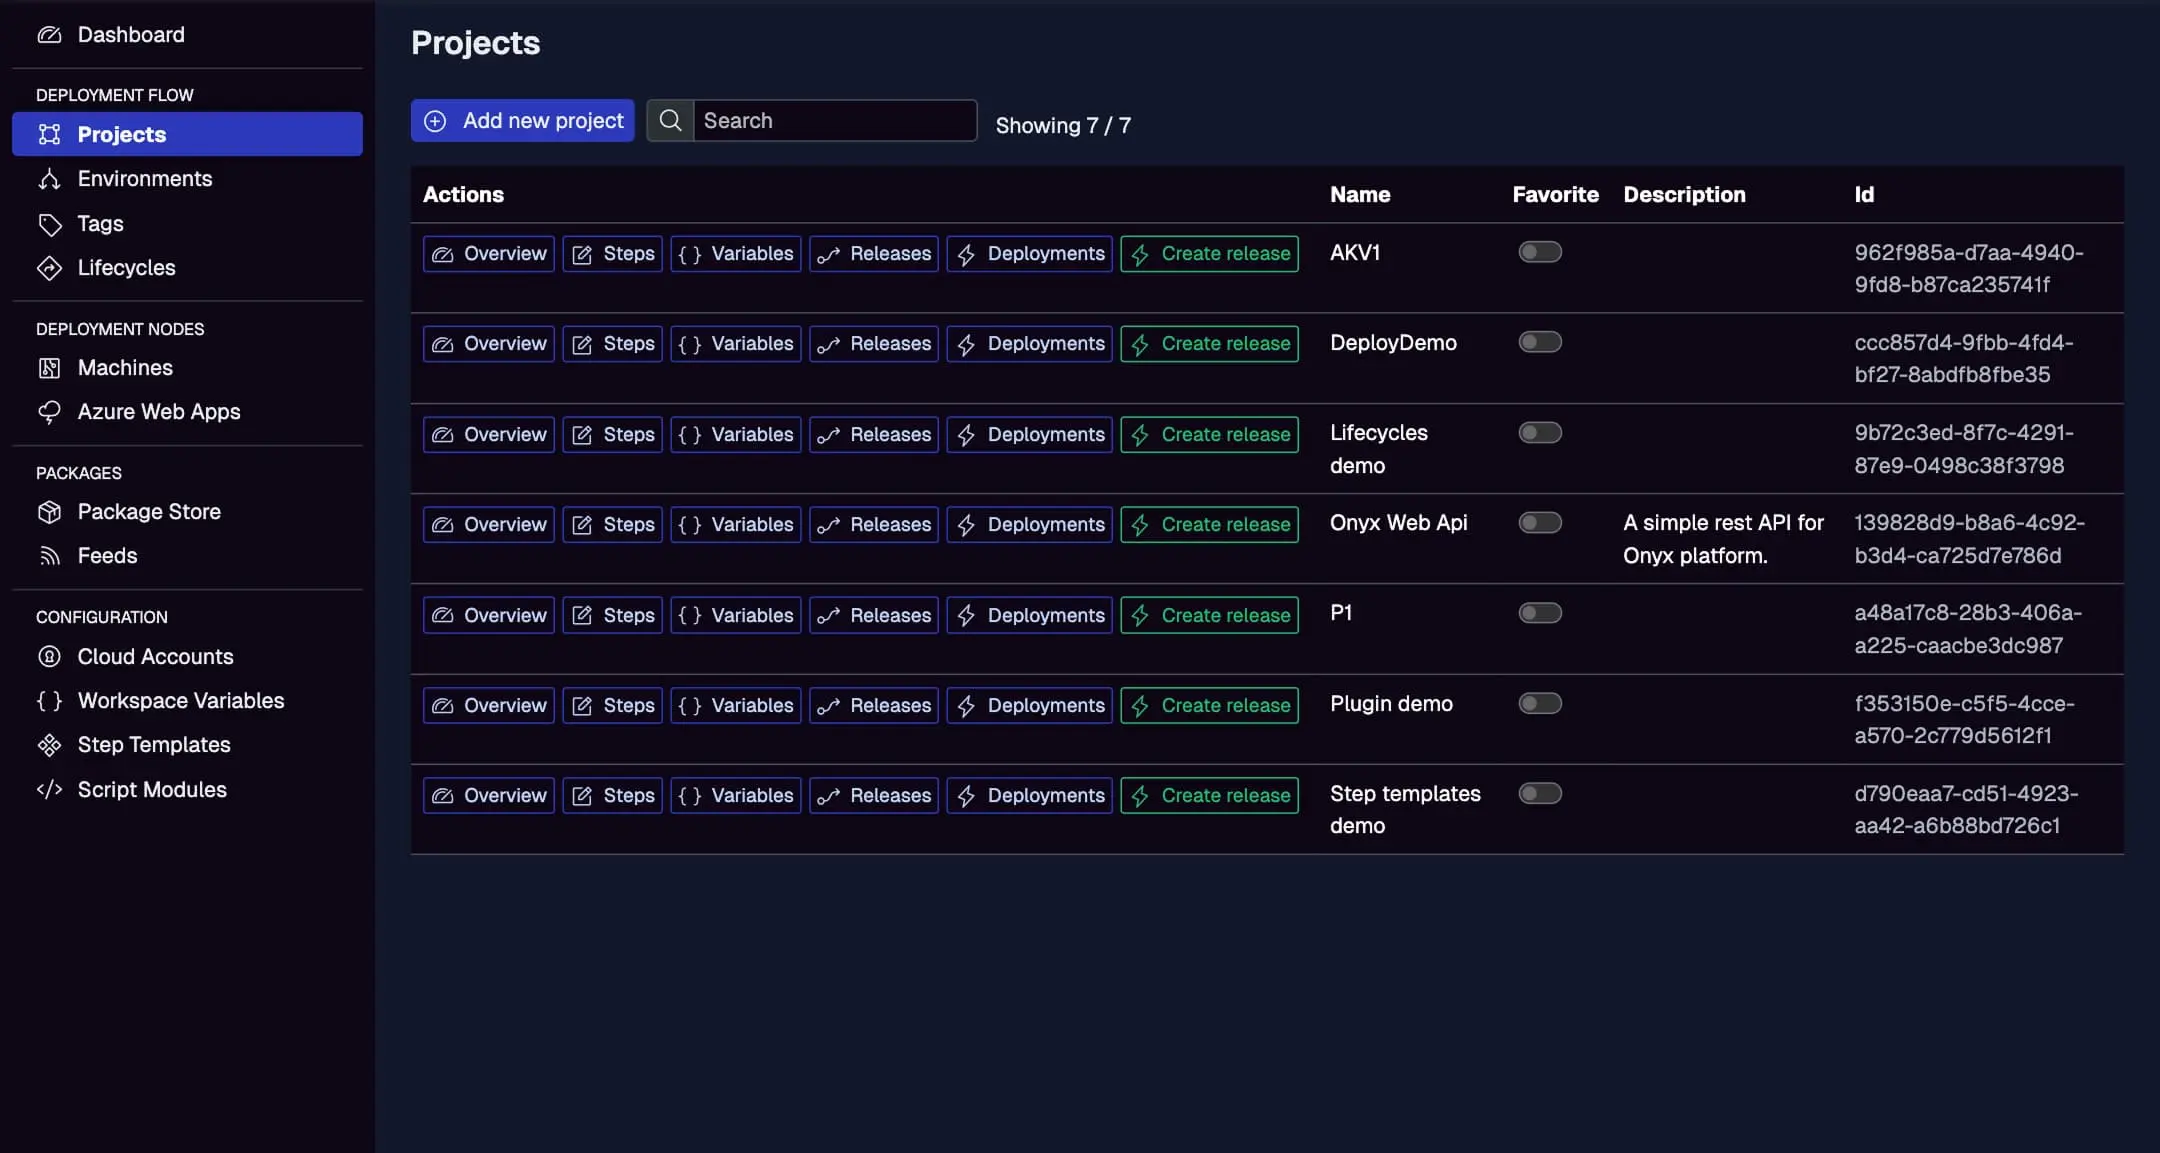
- A Jaws project configured with steps, environments (e.g., Staging, Production), and a package store if needed.
- Familiarity with Jenkinsfile (Groovy-based) for pipelines.
Verify your Jaws project setup here, including steps and variables.
Step 1: Create a Service Account in Jaws Deploy
For secure API access from Jenkins:
- In Jaws, navigate to Settings > Service Accounts.
- Add a new account (e.g., "JenkinsDeployer") with appropriate permissions (e.g., release creation and deployment on specific projects).
- Copy the service account ID and API key.
Store these in Jenkins as credentials:
- Go to Jenkins > Manage Jenkins > Credentials > System > Global credentials.
- Add a "Username with password" credential: Username = service account ID, Password = API key.
- ID it as "jaws-api-creds" for reference in pipelines.
See the Service Accounts and Automation Guide for details.
Step 2: Choose Your Integration Method
- REST API: Use
curlin shell steps for direct HTTP calls. Simple for Linux agents. - PowerShell SDK: Run PowerShell scripts in Jenkins to import the SDK and invoke commands like
Invoke-ReleaseAndDeployProject. Ideal for Windows agents or cross-platform with PowerShell Core.
We'll demonstrate both in the example, focusing on the SDK for its simplicity.
Step 3: Set Up Your Jenkins Pipeline
Create a new Pipeline project in Jenkins and define a Jenkinsfile in your repo (or inline). This example assumes a .NET build producing a .zip artifact.
Example Jenkinsfile (Declarative Pipeline)
pipeline {
    agent any
    environment {
        JAWS_CREDS = credentials('jaws-api-creds')  // References your stored creds
    }
    stages {
        stage('Build') {
            steps {
                // Build your app (e.g., .NET example)
                sh 'dotnet build --configuration Release'
                sh 'dotnet publish -c Release -o out'
                sh 'zip -r app.zip out/'

                // Upload package to Jaws via REST API (using curl)
                sh """
                curl -X POST "<https://app.jawsdeploy.net/api/packagestore/package>" \\
                  -H "Authorization: Basic \\$(echo -n \\$JAWS_CREDS_USR:\\$JAWS_CREDS_PSW | base64)" \\
                  -F "file=@app.zip" \\
                  -F "packageId=my-app" \\
                  -F "version=${BUILD_NUMBER}.0.0"  // Use Jenkins build number for versioning
                """
            }
        }
        stage('Deploy via Jaws SDK') {
            steps {
                // Use PowerShell step (requires PowerShell Plugin)
                powershell '''
                # Download and import SDK (one-time or cache it)
                Invoke-WebRequest -Uri "<https://github.com/JawsDeploy/powershell-sdk/raw/main/JawsDeploySdk.psm1>" -OutFile "JawsDeploySdk.psm1"
                Import-Module ./JawsDeploySdk.psm1

                # Set credentials from env (passed via Jenkins creds)
                $env:JAWS_API_LOGIN = $env:JAWS_CREDS_USR
                $env:JAWS_API_PASSWORD = $env:JAWS_CREDS_PSW

                # Create release and deploy
                $projectId = "your-project-id"  # From Jaws Projects page
                $version = "${env:BUILD_NUMBER}.0.0"
                $response = Invoke-ReleaseAndDeployProject -projectId $projectId -version $version -environmentName "Staging"
                Write-Output $response
                '''
            }
        }
    }
    post {
        always {
            cleanWs()  // Clean up workspace
        }
    }
}
Key Explanations
- Build Stage: Compiles, publishes, and zips the artifact. Uploads to Jaws' package store using
curlwith Basic Auth from credentials. - Deploy Stage: Uses
powershellstep to run a script that imports the SDK, sets creds, and callsInvoke-ReleaseAndDeployProjectfor release creation and deployment to Staging. - Credentials: Securely injected via
credentials()binding—avoids hardcoding. - Versioning: Leverages Jenkins'
BUILD_NUMBERfor SemVer traceability.
For pure REST (no SDK), replace the PowerShell step with a sh or bat step using curl:
sh """
curl -X POST "<https://app.jawsdeploy.net/api/release>" \\
  -H "Authorization: Basic \\$(echo -n \\$JAWS_CREDS_USR:\\$JAWS_CREDS_PSW | base64)" \\
  -H "Content-Type: application/json" \\
  -d '{"projectId": "your-project-id", "version": "${BUILD_NUMBER}.0.0", "packageVersions": {"my-app": "${BUILD_NUMBER}.0.0"}}'
"""
// Follow with another curl for /api/release/deploy
Adapt endpoints from the API Reference.
Step 4: Test and Monitor
- Commit your Jenkinsfile and trigger a build.
- Watch Jenkins console for output.
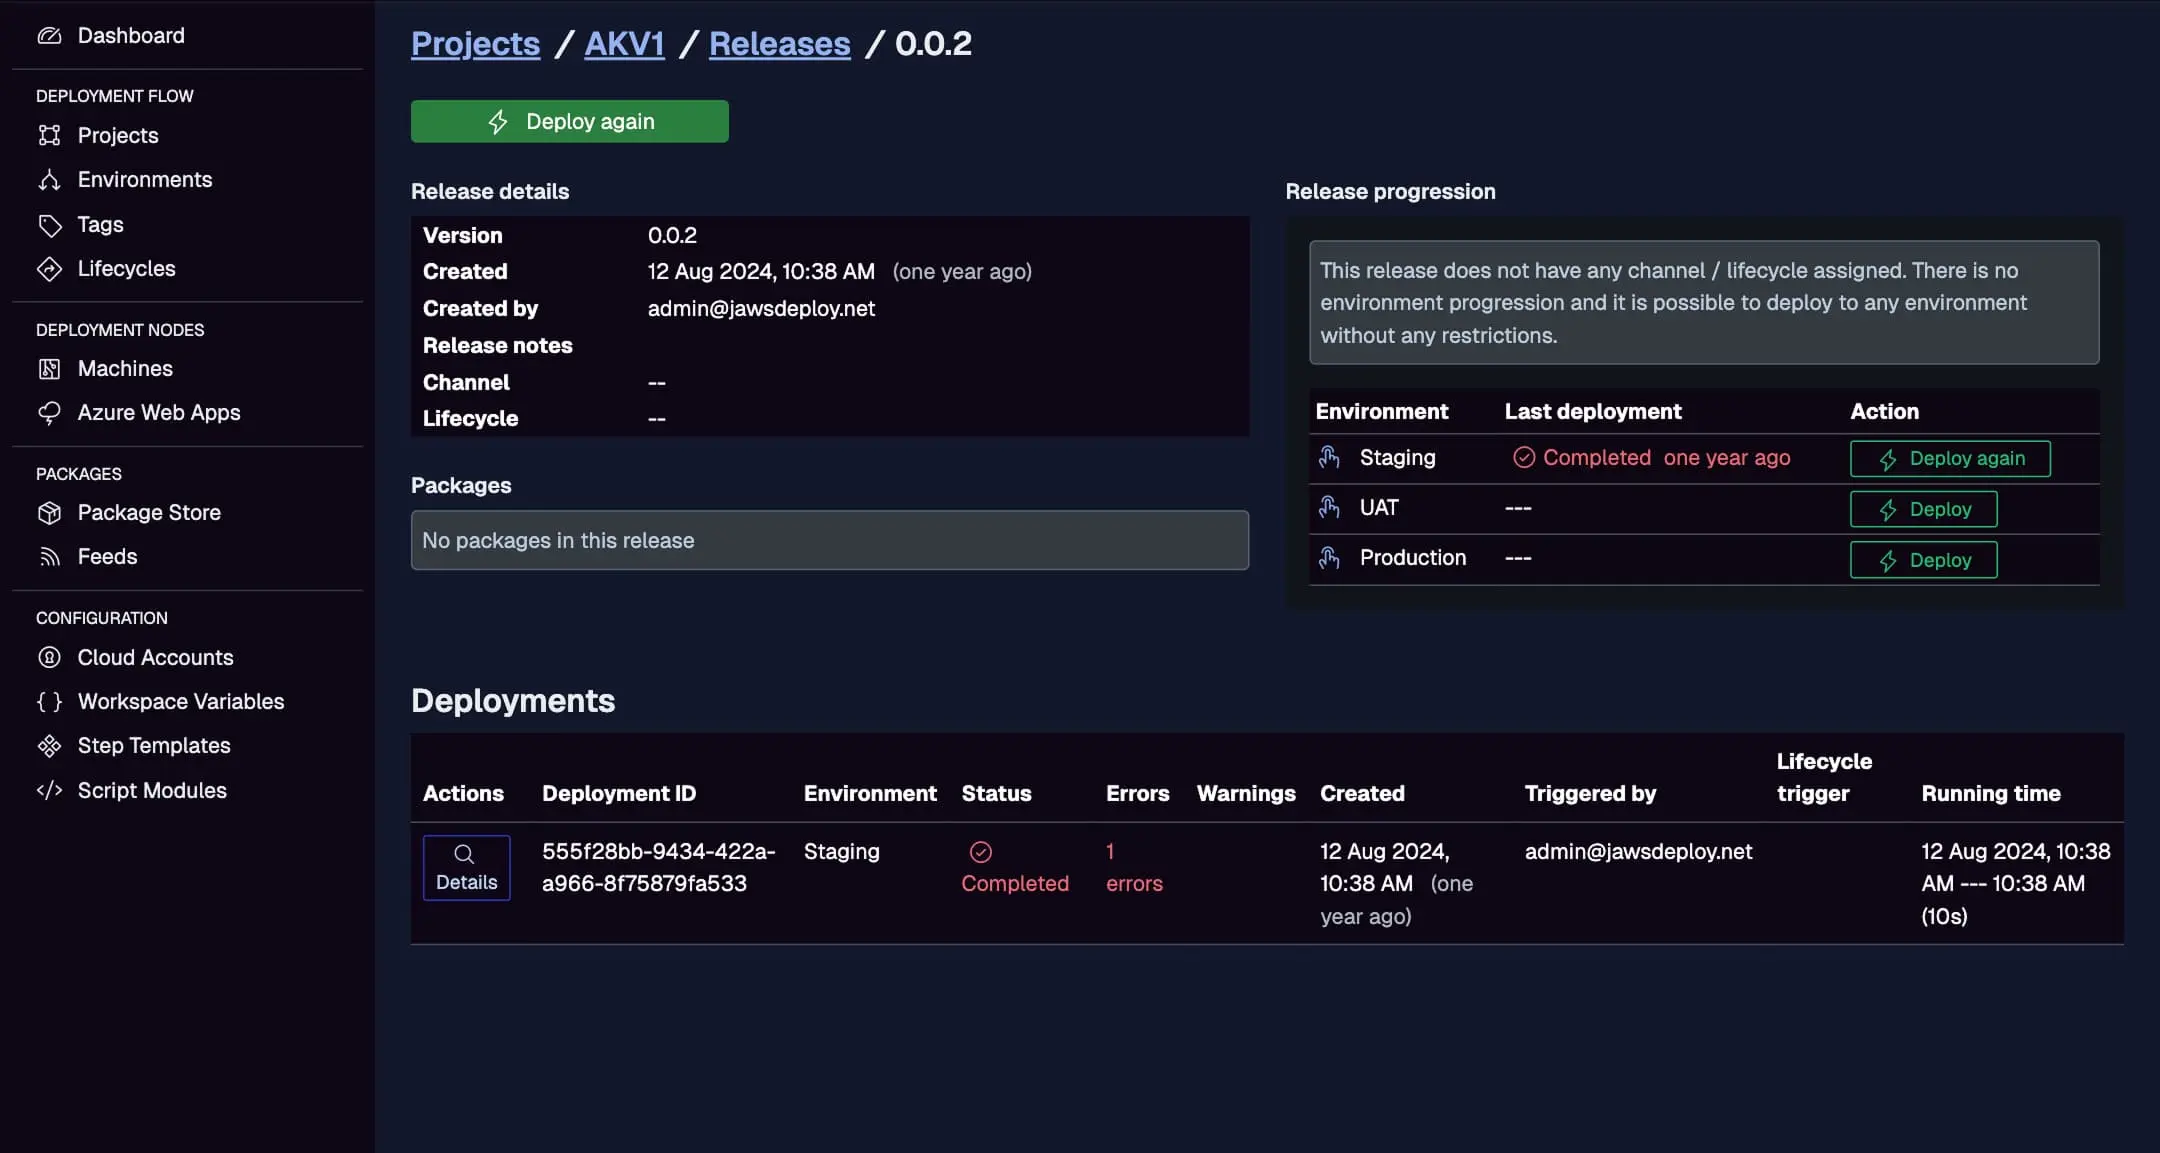
- In Jaws, check the project's Deployments tab for progress, logs, and status.
View Jenkins-triggered deploys here, including triggers and durations.
Enable Jaws debug mode with a __debug variable if needed.
Best Practices
- Credential Security: Use Jenkins' Credential Provider; never expose keys in scripts.
- Conditional Logic: Add gates, e.g., deploy to Production only on main branch or with approvals (use Jenkins input steps).
- Artifact Management: Archive builds in Jenkins and reference in Jaws for rollbacks.
- Error Handling: In PowerShell, use try-catch; in Groovy, wrap steps with
catchError. - Agent Specificity: Use labels (e.g.,
agent { label 'windows' }) for PowerShell on Windows nodes. - Updates: Pin SDK versions or cache downloads to avoid network issues.
For multi-project setups, parameterize the pipeline.
Troubleshooting Common Issues
- Auth Failures: Verify service account scopes and Base64 encoding in headers.
- Package Upload Errors: Check file paths and versions match.
- PowerShell Not Found: Ensure the PowerShell Plugin is installed; use
pwshon Linux agents. - Pipeline Hangs: Add exit codes in scripts (e.g.,
exit 1on failure) to propagate errors. - Logs: Use Jaws' UI for detailed outputs; enable verbose in SDK calls.
Refer to Jenkins docs or API Reference for more.
Conclusion
Integrating Jenkins with Jaws Deploy streamlines your CI/CD pipeline, letting each tool play to its strengths. This API-driven approach minimizes custom code while maximizing automation and visibility.
For broader CI/CD tips, see the CI/CD Integration Guide. Start building—configure your pipeline today! If new to Jaws, try the Getting Started guide.