Bitbucket Pipelines is Atlassian's integrated CI/CD solution for Bitbucket repositories, enabling automated builds, tests, and deployments through YAML-defined pipelines. It's effective for continuous integration (CI) but can require additional scripting for sophisticated deployment orchestration. Jaws Deploy pairs with Bitbucket Pipelines to handle the continuous deployment (CD) aspect, managing releases, lifecycle progressions, variable scoping, and detailed monitoring.
In this integration, Bitbucket Pipelines focuses on builds (e.g., compiling code and generating .zip packages), while Jaws Deploy oversees release creation and deployment. Leverage Jaws' REST API or PowerShell SDK—no native Bitbucket step exists; use script commands in your pipelines.
This guide details prerequisites, setup, an example pipeline, and tips for a seamless workflow.
Why Integrate Bitbucket Pipelines with Jaws Deploy?
- Role Optimization: Bitbucket excels at CI within Atlassian ecosystems; Jaws handles CD with features like environment-specific scoping, tags for targeting, and reusable script modules.
- Automated Transitions: Trigger Jaws releases automatically after builds, streamlining end-to-end delivery.
- Enhanced Oversight: Access Jaws' dashboards for deployment activity, errors, and trends, complementing Bitbucket's logs.
- Atlassian Synergy: Ideal for teams using Jira or Confluence, with secure integrations for hybrid setups.
This combination suits .NET apps, web services, or containerized workflows where Bitbucket builds artifacts and Jaws deploys to on-prem machines or cloud targets like Azure Web Apps.
Prerequisites
- A Jaws Deploy account (sign up at https://app.jawsdeploy.net/signup).
- A Bitbucket repository with Pipelines enabled (requires a paid plan for private repos).
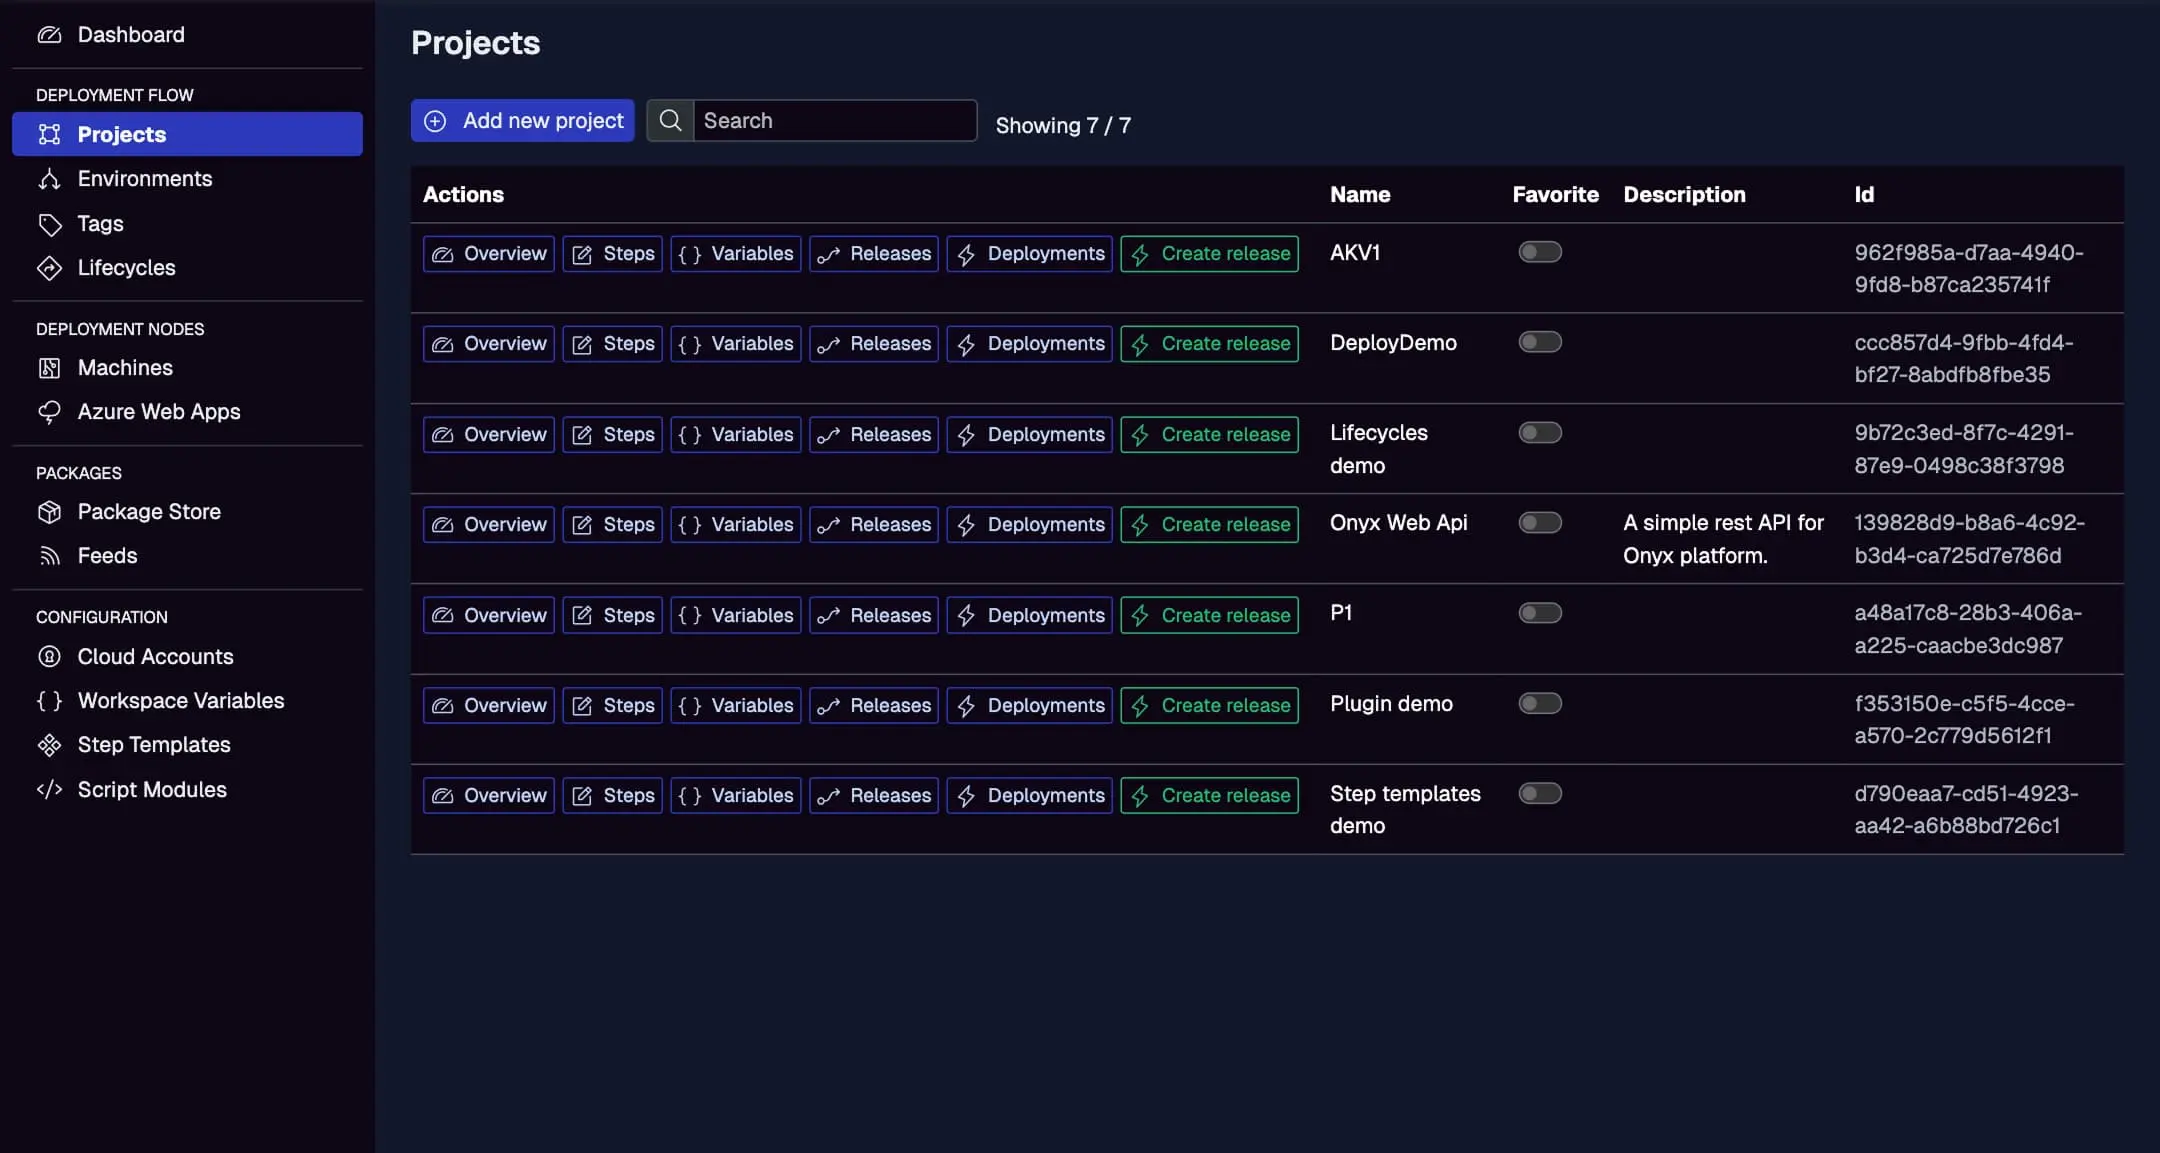
- A Jaws project configured with steps, environments (e.g., Staging, Production), and optionally a package store.
- Bitbucket repository variables for secrets.
- Pipelines with access to curl (default) or PowerShell (install via scripts on Ubuntu-based images).
Set up your Jaws project here, including steps and variables.
Step 1: Create a Service Account in Jaws Deploy
For secure API calls:
- In Jaws, go to Settings > Service Accounts.
- Create a new account (e.g., "BitbucketDeployer") with permissions for release creation and deployment on specific projects/workspaces.
- Copy the service account ID and API key.
In Bitbucket:
- Navigate to Repository settings > Pipelines > Repository variables.
- Add:
JAWS_API_LOGIN= service account ID.JAWS_API_PASSWORD= API key (mark as secured to hide in logs).
See the Service Accounts and Automation Guide for more.
Step 2: Choose Your Integration Method
- REST API: Use
curlin bash scripts for HTTP requests. Straightforward for standard Bitbucket images. - PowerShell SDK: Execute scripts to import the SDK and use commands like
Invoke-ReleaseAndDeployProject. Install PowerShell if needed (e.g., on atlassian/default-image:3).
The example uses REST for broad compatibility.
Step 3: Set Up Your Bitbucket Pipeline
Create a bitbucket-pipelines.yml in your repo root. This example builds a .NET app, packages it, uploads to Jaws, and deploys via REST.
Example bitbucket-pipelines.yml
image: mcr.microsoft.com/dotnet/sdk:8.0  # Or your base image

pipelines:
  default:
    - step:
        name: Build and Upload Package
        script:
          - dotnet build --configuration Release
          - dotnet publish -c Release -o out
          - zip -r app.zip out/
          # Upload to Jaws via REST (curl)
          - |
            auth=$(echo -n $JAWS_API_LOGIN:$JAWS_API_PASSWORD | base64)
            curl -X POST "<https://app.jawsdeploy.net/api/packagestore/package>" \\
              -H "Authorization: Basic $auth" \\
              -F "file=@app.zip" \\
              -F "packageId=my-app" \\
              -F "version=$BITBUCKET_BUILD_NUMBER.0.0"  # Use build number for SemVer
        artifacts:
          - app.zip  # Optional for archiving

    - step:
        name: Create Release and Deploy
        script:
          # Create release via REST
          - |
            auth=$(echo -n $JAWS_API_LOGIN:$JAWS_API_PASSWORD | base64)
            response=$(curl -X POST "<https://app.jawsdeploy.net/api/release>" \\
              -H "Authorization: Basic $auth" \\
              -H "Content-Type: application/json" \\
              -d "{\\"projectId\\": \\"your-project-id\\", \\"version\\": \\"$BITBUCKET_BUILD_NUMBER.0.0\\", \\"packageVersions\\": {\\"my-app\\": \\"$BITBUCKET_BUILD_NUMBER.0.0\\"}}" \\
              --write-out "%{http_code}" --silent --output /dev/null)
            # Parse response for releaseId if needed (use jq if installed: apt install jq)
            # For simplicity, assume success and proceed to deploy (use actual releaseId extraction)
            curl -X POST "<https://app.jawsdeploy.net/api/release/deploy>" \\
              -H "Authorization: Basic $auth" \\
              -H "Content-Type: application/json" \\
              -d "{\\"releaseId\\": \\"extracted-release-id\\", \\"environments\\": [\\"Staging\\"]}"
Key Explanations
- First Step: Builds, publishes, zips, and uploads to Jaws' package store using curl with Basic Auth.
- Second Step: Creates a release and deploys to Staging via curl. Extract releaseId from the first response (add jq:
apt-get update && apt-get install -y jqat step start for parsing). - Versioning: Uses Bitbucket's
$BITBUCKET_BUILD_NUMBERfor consistency. - Image: Dotnet SDK for .NET; adapt for your language.
For PowerShell SDK:Add installation: apt-get update && apt-get install -y powershell, then use pwsh commands similar to other guides.
Reference the API Reference for exact endpoints.
Step 4: Test and Monitor
- Commit your yml and push to trigger the pipeline.
- Check Bitbucket Pipelines logs.
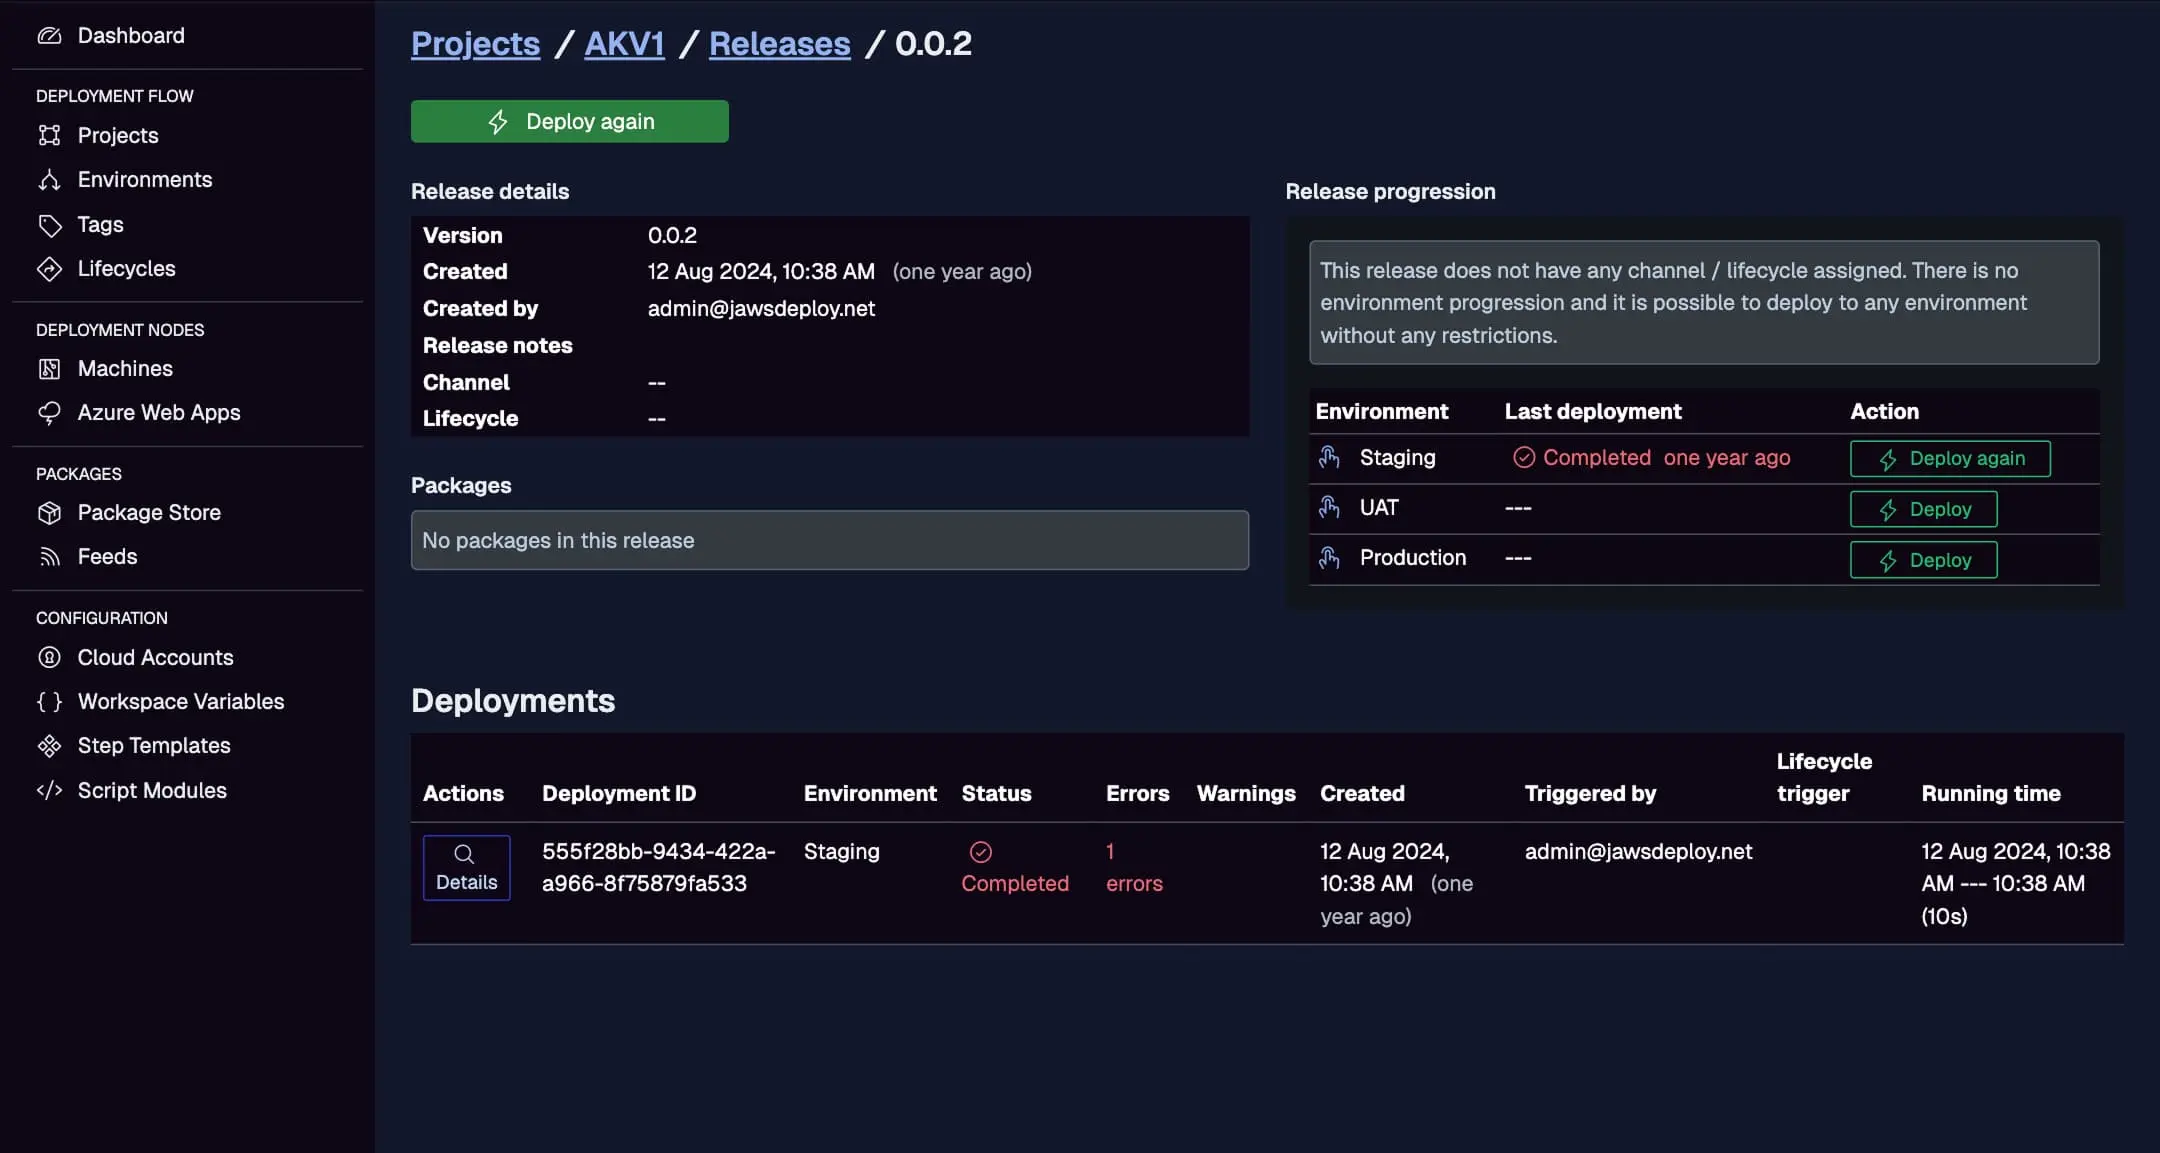
- In Jaws, view the Deployments tab for real-time status.
Monitor Bitbucket-triggered deploys here, with triggers, statuses, and durations.
For debugging, set __debug to true in your Jaws project variables for expanded logs.
Best Practices
- Secured Vars: Mark sensitive variables as secured to mask in logs.
- Branch Triggers: Use
branches: mainunder pipelines for Production controls. - Artifacts: Download and reference in deploy steps if needed.
- Error Handling: Add checks like
if [ $response -ne 200 ]; then exit 1; fiin scripts. - Custom Images: Use cached images with pre-installed tools for speed.
- Parallel Steps: Run tests in parallel before deploy.
Troubleshooting Common Issues
- Auth Errors: Ensure vars are set and Base64 correct; test with echo (non-sensitive).
- Upload Fails: Verify file existence and params.
- PowerShell Install Issues: Use compatible images; handle apt dependencies.
- Pipeline Timeouts: Increase limits or optimize scripts.
- Logs: Use Jaws' UI for detailed outputs.
Consult Bitbucket docs or our API Reference.
Conclusion
Integrating Bitbucket Pipelines with Jaws Deploy creates an efficient Atlassian-aligned CI/CD flow, where builds lead seamlessly to orchestrated deployments.
For more integrations, explore the CI/CD Integration Guide. Configure your pipeline today! New to Jaws? Start with the Getting Started guide.