GitLab CI/CD is a robust, built-in pipeline tool for continuous integration and delivery, integrated directly with your GitLab repositories. It excels at automating builds, tests, and artifact creation but can become complex when managing multi-environment deployments, configurations, and orchestrations. Jaws Deploy steps in as the dedicated CD platform, handling releases, lifecycles, variable scoping, and monitoring to ensure reliable rollouts.
In this integration, GitLab focuses on the CI phase (building and packaging), while Jaws Deploy manages the CD phase (release creation and deployment). Leverage Jaws' REST API or PowerShell SDK for automation—no native GitLab plugin is needed; use script stages in your pipelines.
This guide outlines prerequisites, setup, an example GitLab CI/CD pipeline, and tips for a smooth workflow.
Why Integrate GitLab with Jaws Deploy?
- Efficient Division of Labor: GitLab handles builds efficiently; Jaws takes care of deployments with advanced features like tags for targeting and lifecycles for progression.
- Automated Handover: Trigger Jaws releases automatically after successful builds, streamlining the pipeline.
- Improved Visibility and Control: Access Jaws' dashboards for deployment logs, history, and trends, complementing GitLab's job outputs.
- Security Focus: Use service accounts for API access, keeping credentials secure in GitLab variables.
This setup suits projects like web apps or microservices where GitLab builds artifacts (e.g., .zip or Docker images) and Jaws deploys them to on-prem machines or cloud targets like Azure Web Apps.
Prerequisites
- A Jaws Deploy account (sign up at https://app.jawsdeploy.net/signup).
- A GitLab repository with CI/CD enabled (requires a GitLab Runner).
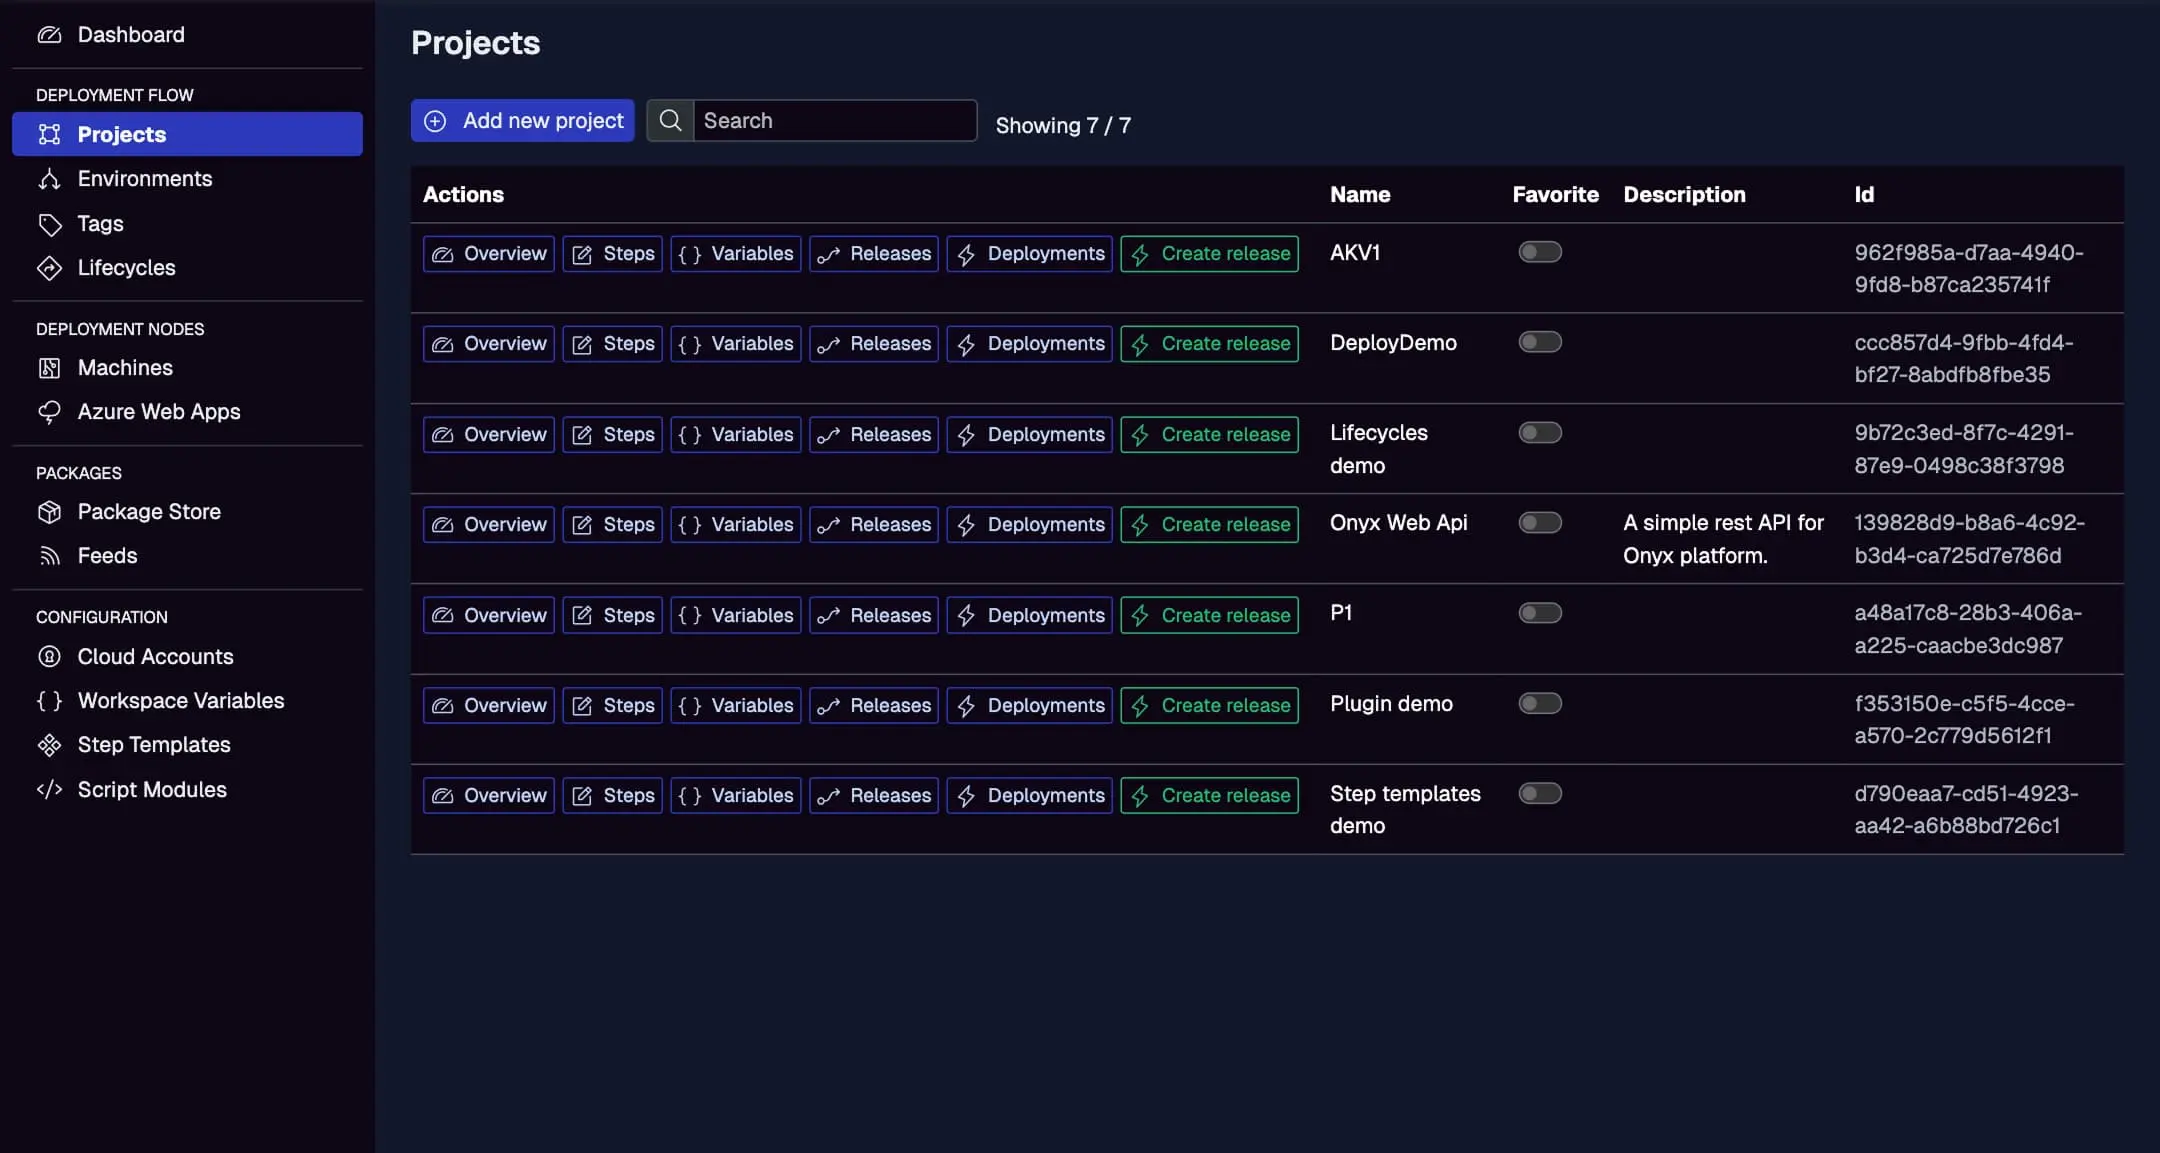
- A Jaws project set up with steps, environments (e.g., Staging, Production), and optionally a package store.
- GitLab Variables for storing secrets (we'll use these for Jaws credentials).
- A Runner with shell access; for PowerShell SDK, ensure PowerShell Core is installed (common on Linux/Windows Runners).
Confirm your Jaws project is configured here, with steps, variables, and environments.
Step 1: Create a Service Account in Jaws Deploy
For secure, automated access:
- In Jaws, go to Settings > Service Accounts.
- Create a new account (e.g., "GitLabDeployer") with permissions for release creation and deployment on relevant projects/workspaces.
- Note the service account ID and API key.
In GitLab:
- Navigate to your project > Settings > CI/CD > Variables.
- Add two masked, protected variables:
JAWS_API_LOGIN= service account IDJAWS_API_PASSWORD= API key
This ensures credentials are secure and only available in protected branches/pipelines.
Refer to the Service Accounts and Automation Guide for more.
Step 2: Choose Your Integration Method
- REST API: Make HTTP calls with
curlin script stages. Straightforward for any Runner. - PowerShell SDK: Execute PowerShell scripts to import the SDK and use commands like
Invoke-ReleaseAndDeployProject. Requires PowerShell on the Runner (install viaapt install powershellon Ubuntu-based images if needed).
We'll use the SDK in the example, with REST alternatives provided.
Step 3: Set Up Your GitLab CI/CD Pipeline
Create a .gitlab-ci.yml file in your repo root. This example builds a .NET app, packages it, uploads to Jaws, and deploys.
Example .gitlab-ci.yml
image: mcr.microsoft.com/dotnet/sdk:8.0  # Or your preferred image with dotnet and curl

variables:
  PACKAGE_ID: "my-app"
  PROJECT_ID: "your-project-id"  # From Jaws Projects page

stages:
  - build
  - deploy

build:
  stage: build
  script:
    - dotnet build --configuration Release
    - dotnet publish -c Release -o out
    - zip -r app.zip out/
    # Upload package to Jaws via REST API
    - |
      curl -X POST "<https://app.jawsdeploy.net/api/packagestore/package>" \\
        -H "Authorization: Basic $(echo -n $JAWS_API_LOGIN:$JAWS_API_PASSWORD | base64)" \\
        -F "file=@app.zip" \\
        -F "packageId=$PACKAGE_ID" \\
        -F "version=$CI_PIPELINE_ID.0.0"  # Use pipeline ID or git tag for versioning
  artifacts:
    paths:
      - app.zip  # Optional, for archiving

deploy_to_staging:
  stage: deploy
  script:
    # Download and import PowerShell SDK
    - pwsh -Command "Invoke-WebRequest -Uri '<https://github.com/JawsDeploy/powershell-sdk/raw/main/JawsDeploySdk.psm1>' -OutFile 'JawsDeploySdk.psm1'"
    - pwsh -Command "Import-Module ./JawsDeploySdk.psm1"
    # Create release and deploy
    - |
      pwsh -Command "
      \\$env:JAWS_API_LOGIN = '$JAWS_API_LOGIN'
      \\$env:JAWS_API_PASSWORD = '$JAWS_API_PASSWORD'
      \\$version = '$CI_PIPELINE_ID.0.0'
      \\$response = Invoke-ReleaseAndDeployProject -projectId '$PROJECT_ID' -version \\$version -environmentName 'Staging'
      Write-Output \\$response
      "
  when: on_success  # Run only if build succeeds
  environment: Staging  # GitLab environment tracking
Key Explanations
- Build Stage: Compiles, publishes, zips the artifact, and uploads to Jaws' package store using
curlwith Basic Auth from variables. - Deploy Stage: Uses
pwsh(PowerShell Core) to download/import the SDK, set creds, and invokeInvoke-ReleaseAndDeployProjectfor release and deployment to Staging. - Versioning: Employs GitLab's
$CI_PIPELINE_IDfor SemVer consistency. - Image: Choose one with
dotnet,curl, andpwsh(pre-install if necessary).
For pure REST (no SDK), replace the deploy script with curl calls:
script:
  - |
    curl -X POST "<https://app.jawsdeploy.net/api/release>" \\
      -H "Authorization: Basic $(echo -n $JAWS_API_LOGIN:$JAWS_API_PASSWORD | base64)" \\
      -H "Content-Type: application/json" \\
      -d "{\\"projectId\\": \\"$PROJECT_ID\\", \\"version\\": \\"$CI_PIPELINE_ID.0.0\\", \\"packageVersions\\": {\\"$PACKAGE_ID\\": \\"$CI_PIPELINE_ID.0.0\\"}}"
  # Then curl to /api/release/deploy with the release ID from response
Check the API Reference for exact endpoints.
Step 4: Test and Monitor
- Commit your
.gitlab-ci.ymland push to trigger the pipeline. - Monitor GitLab CI/CD logs for execution.
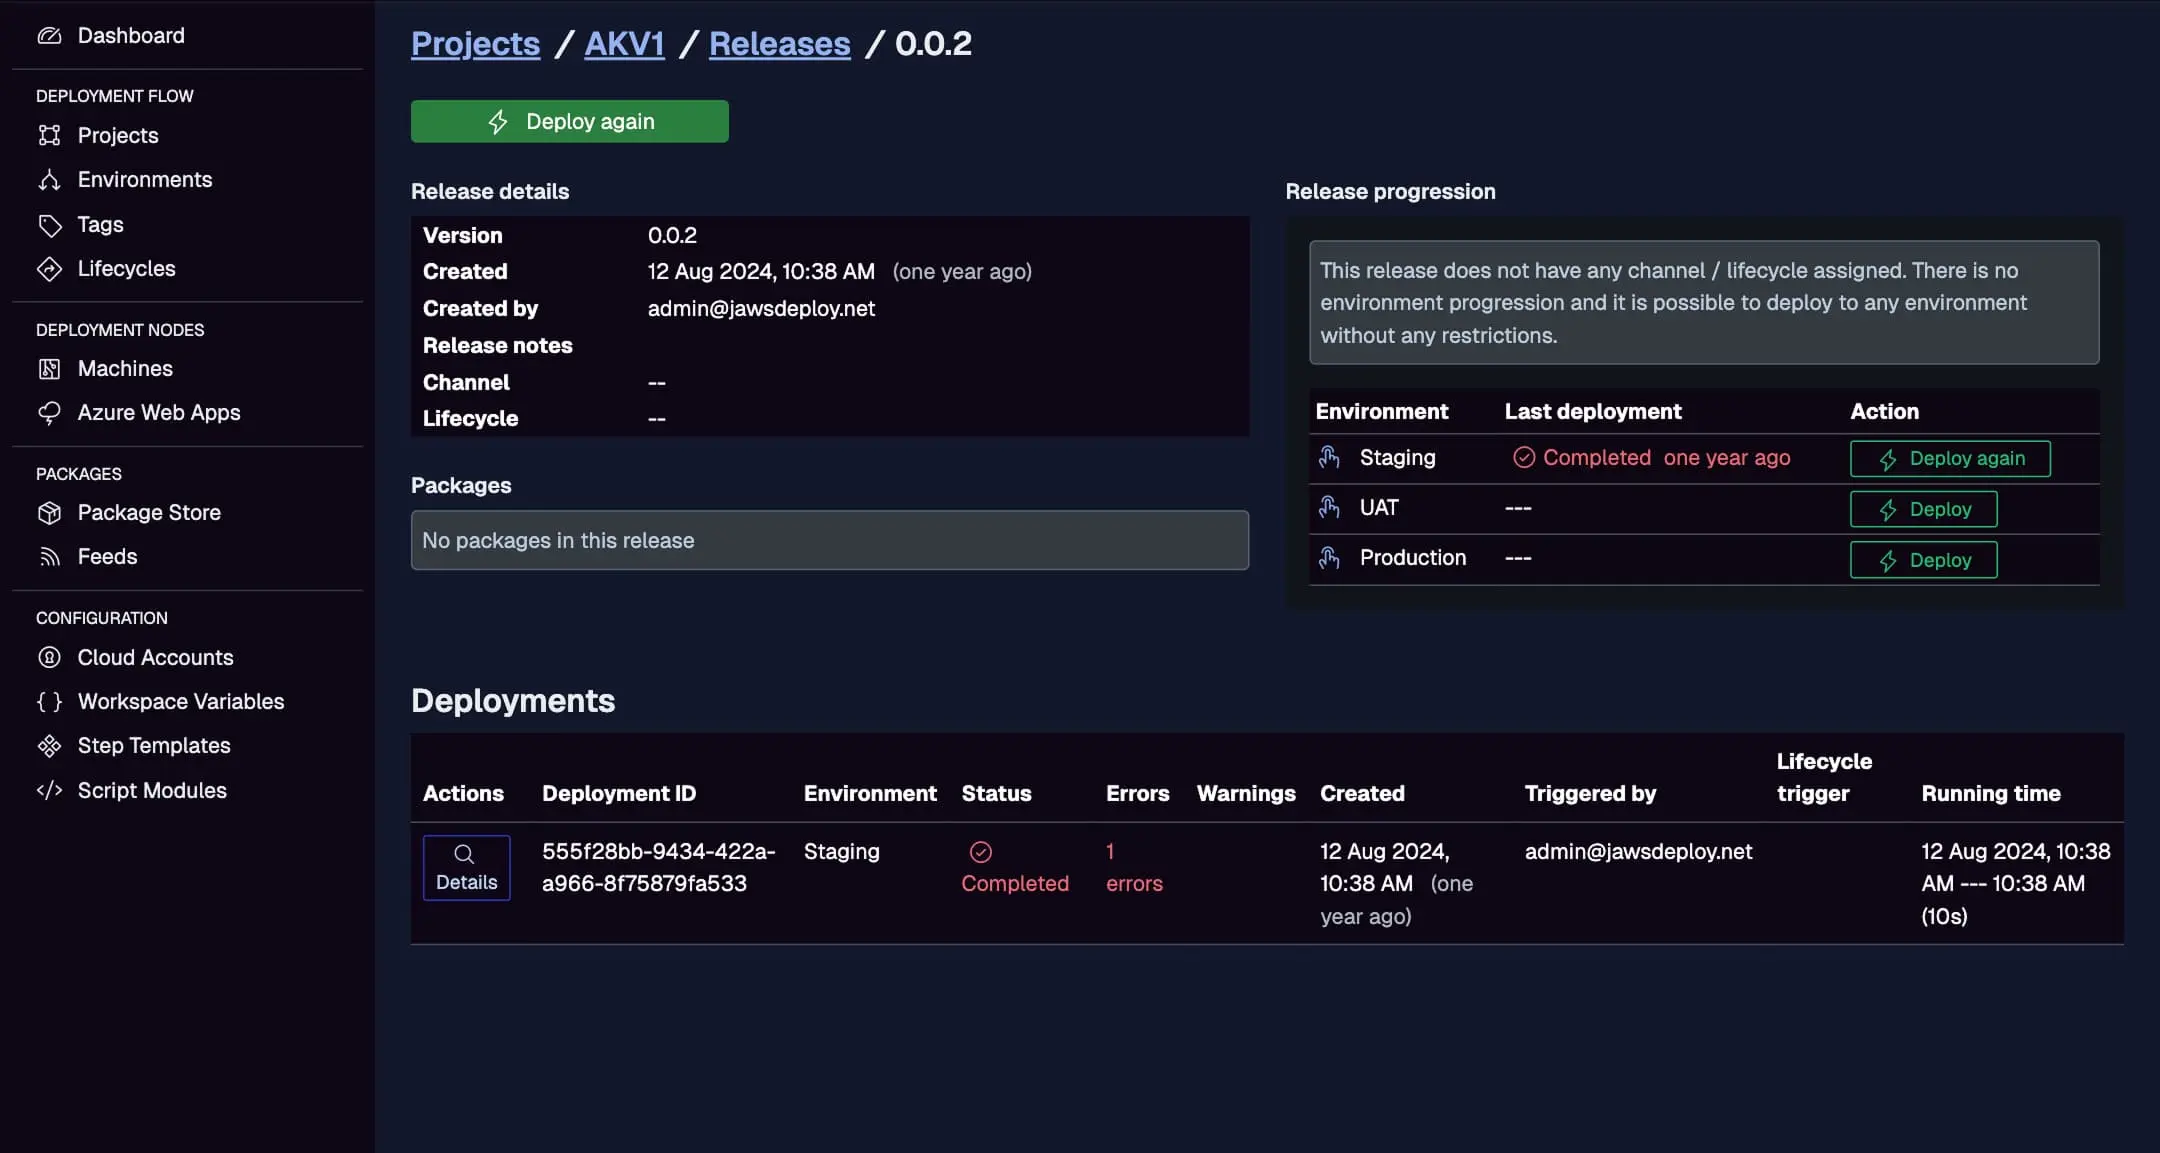
- In Jaws, view the Deployments tab for real-time progress and logs.
Inspect GitLab-initiated deploys here, with statuses, triggers, and running times.
If debugging, set a __debug variable to true in your Jaws project for detailed logs.
Best Practices
- Variable Protection: Mark credentials as "protected" and "masked" in GitLab to limit exposure.
- Conditional Deploys: Use
rulesoronly/exceptto deploy to Production only on tags or merges (e.g.,rules: - if: '$CI_COMMIT_TAG'). - Artifact Handling: Store packages in GitLab artifacts for backups; reference versions in Jaws.
- Error Management: Add retry logic or notifications (e.g., via GitLab integrations) on failure.
- Runner Optimization: Use shared Runners with pre-installed PowerShell to speed up jobs.
- Multi-Environment: Add stages for Production with manual triggers (
when: manual).
For larger setups, use GitLab's include/templates for reusable configs.
Troubleshooting Common Issues
- Auth Problems: Ensure variables are available in the job (check scopes) and Base64 is correctly encoded.
- Package Issues: Verify upload paths and version matching.
- PowerShell Missing: Install via script (
apt update && apt install -y powershell) or switch to a custom Docker image. - Pipeline Failures: Use
set -ein shells for error propagation; check Jaws logs for deployment-specific errors. - Timeouts: Optimize builds or increase Jaws parallelism in steps.
Consult GitLab docs or our API Reference.
Conclusion
Integrating GitLab with Jaws Deploy enhances your CI/CD pipeline by delegating deployment orchestration to a specialized tool, improving efficiency and reliability.
For more on integrations, explore the CI/CD Integration Guide. Configure your pipeline now and automate away! New to Jaws? Begin with the Getting Started guide.