BuildKite is a flexible CI/CD platform that allows teams to run pipelines on their own infrastructure, offering scalable agents and easy YAML-based configuration. It's strong for continuous integration (CI) tasks like building and testing but can require custom scripting for advanced deployment orchestration. Jaws Deploy fills this gap by handling continuous deployment (CD), including release management, environment progression via lifecycles, variable scoping, and detailed monitoring.
In this integration, BuildKite manages the build process (e.g., compiling code and creating artifacts like .zip packages), while Jaws Deploy takes care of release creation and deployment. Use Jaws' REST API or PowerShell SDK for the handover—no native BuildKite plugin is needed; incorporate commands or scripts in your pipeline steps.
This guide covers prerequisites, setup, an example pipeline, and tips for optimization.
Why Integrate BuildKite with Jaws Deploy?
- Role Specialization: BuildKite excels at CI on custom agents; Jaws handles CD with reusable steps, tags, and automated promotions.
- Automated Flow: Trigger Jaws releases directly after builds, streamlining the pipeline without complex plugins.
- Better Insights: Access Jaws' dashboards for deployment trends, logs, and history, enhancing BuildKite's job outputs.
- Customizability: Leverage BuildKite's agent queues for targeted runs, combined with Jaws' security features like scoped secrets.
This setup works well for .NET apps, containerized services, or any workflow where BuildKite builds artifacts and Jaws deploys to on-prem or cloud targets like Azure Web Apps.
Prerequisites
- A Jaws Deploy account (sign up at https://app.jawsdeploy.net/signup).
- A BuildKite organization and pipeline set up with agents (self-hosted or cloud).
- A Jaws project with defined steps, environments (e.g., Staging, Production), and optionally a package store.
- BuildKite environment variables or hooks for secrets.
- Agents with curl (for REST) or PowerShell Core (for SDK; install via package manager if needed).
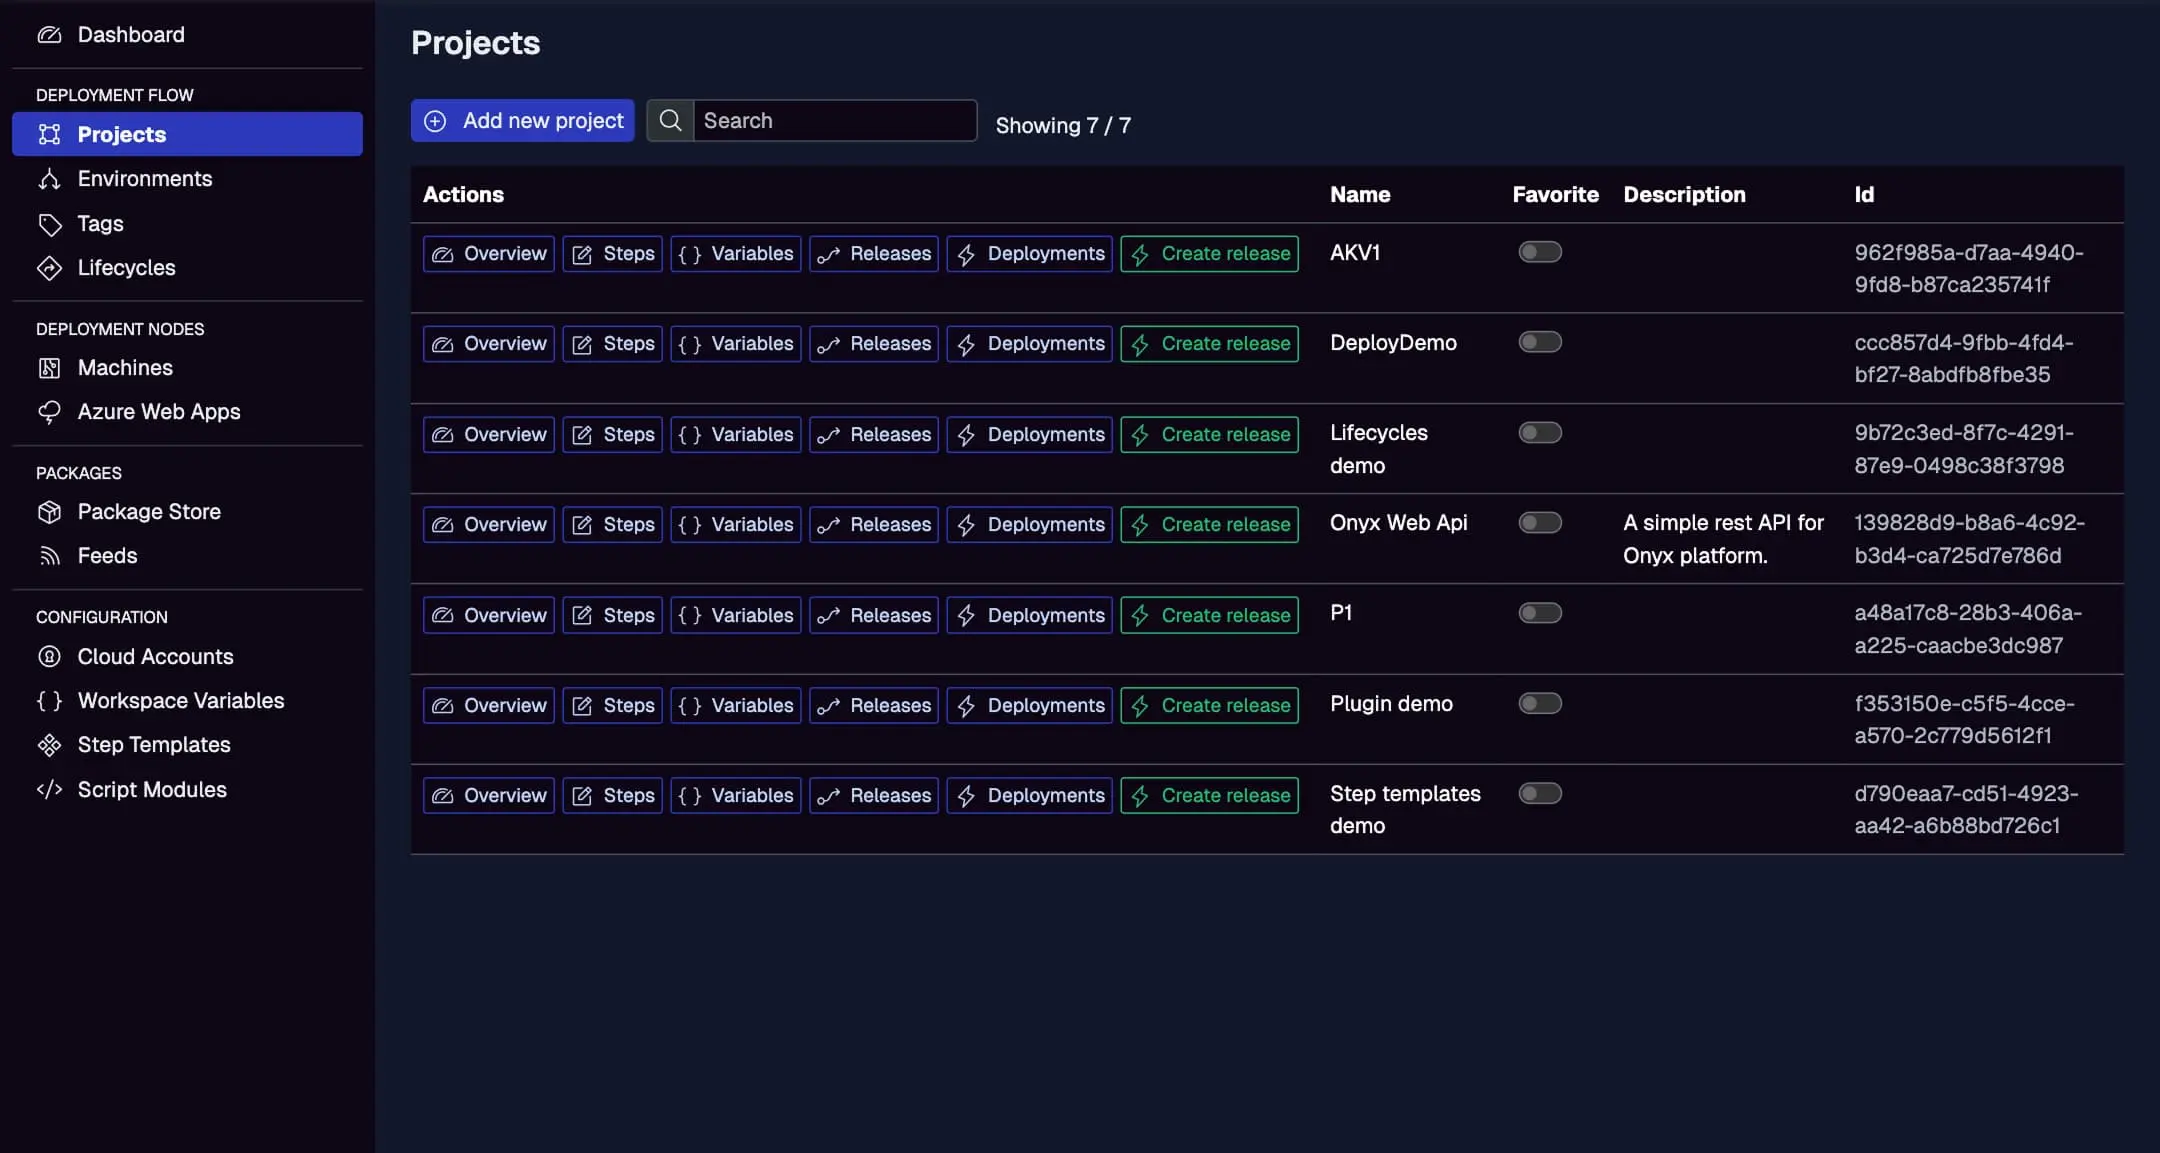
Verify your Jaws project configuration here, including steps and variables.
Step 1: Create a Service Account in Jaws Deploy
For secure API interactions:
- In Jaws, navigate to Settings > Service Accounts.
- Create an account (e.g., "BuildKiteDeployer") with permissions for release creation and deployment on specific projects/workspaces.
- Copy the service account ID and API key.
In BuildKite:
- Go to Pipeline Settings > Environment Variables.
- Add protected variables:
JAWS_API_LOGIN= service account ID.JAWS_API_PASSWORD= API key (mark as secret).
This keeps credentials secure and accessible in steps.
See the Service Accounts and Automation Guide for more.
Step 2: Choose Your Integration Method
- REST API: Execute
curlcommands in bash steps for HTTP calls. Suitable for any agent. - PowerShell SDK: Run PowerShell scripts to import the SDK and use functions like
Invoke-ReleaseAndDeployProject. Requires PowerShell on the agent (common on Windows; install pwsh on Linux).
The example uses the SDK, with REST alternatives.
Step 3: Set Up Your BuildKite Pipeline
Define your pipeline in BuildKite's YAML editor or use an in-repo pipeline.yml (uploaded via buildkite-agent pipeline upload). This example assumes a .NET build, with build and deploy steps.
Example pipeline.yml
steps:
  - label: ":hammer: Build"
    command:
      - dotnet build --configuration Release
      - dotnet publish -c Release -o out
      - zip -r app.zip out/
      # Upload package to Jaws via REST API (using curl)
      - |
        auth=$(echo -n $JAWS_API_LOGIN:$JAWS_API_PASSWORD | base64)
        curl -X POST "<https://app.jawsdeploy.net/api/packagestore/package>" \\
          -H "Authorization: Basic $auth" \\
          -F "file=@app.zip" \\
          -F "packageId=my-app" \\
          -F "version=$BUILDKITE_BUILD_NUMBER.0.0"  # Use build number for SemVer
    env:
      JAWS_API_LOGIN: $JAWS_API_LOGIN
      JAWS_API_PASSWORD: $JAWS_API_PASSWORD
    artifact_paths: "app.zip"  # Archive for reference

  - wait

  - label: ":cloud: Deploy to Staging"
    command:
      # Download and import PowerShell SDK (using pwsh)
      - pwsh -Command "Invoke-WebRequest -Uri '<https://github.com/JawsDeploy/powershell-sdk/raw/main/JawsDeploySdk.psm1>' -OutFile 'JawsDeploySdk.psm1'"
      - pwsh -Command "Import-Module ./JawsDeploySdk.psm1"
      # Create release and deploy
      - |
        pwsh -Command "
        \\$env:JAWS_API_LOGIN = '$JAWS_API_LOGIN'
        \\$env:JAWS_API_PASSWORD = '$JAWS_API_PASSWORD'
        \\$projectId = 'your-project-id'  # From Jaws Projects page
        \\$version = '$BUILDKITE_BUILD_NUMBER.0.0'
        \\$response = Invoke-ReleaseAndDeployProject -projectId \\$projectId -version \\$version -environmentName 'Staging'
        Write-Output \\$response
        "
    env:
      JAWS_API_LOGIN: $JAWS_API_LOGIN
      JAWS_API_PASSWORD: $JAWS_API_PASSWORD
    agents:
      queue: deploy  # Target deploy-specific agents
    branches: "main"
Key Explanations
- Build Step: Builds, publishes, zips the artifact, and uploads to Jaws' package store using
curlwith Basic Auth from env vars. - Deploy Step: Downloads/imports the SDK with pwsh, sets creds, and invokes
Invoke-ReleaseAndDeployProjectfor release and deployment to Staging. - Versioning: Uses BuildKite's
$BUILDKITE_BUILD_NUMBERfor traceable versions. - Agents and Env: Targets a "deploy" queue; passes secure env vars.
For pure REST, replace the deploy command with curl:
- |
  auth=$(echo -n $JAWS_API_LOGIN:$JAWS_API_PASSWORD | base64)
  curl -X POST "<https://app.jawsdeploy.net/api/release>" \\
    -H "Authorization: Basic $auth" \\
    -H "Content-Type: application/json" \\
    -d "{\\"projectId\\": \\"your-project-id\\", \\"version\\": \\"$BUILDKITE_BUILD_NUMBER.0.0\\", \\"packageVersions\\": {\\"my-app\\": \\"$BUILDKITE_BUILD_NUMBER.0.0\\"}}"
# Add another curl for /api/release/deploy
Refer to the API Reference for details.
Step 4: Test and Monitor
- Trigger a build in BuildKite (e.g., via push or manual).
- Check step logs in BuildKite.
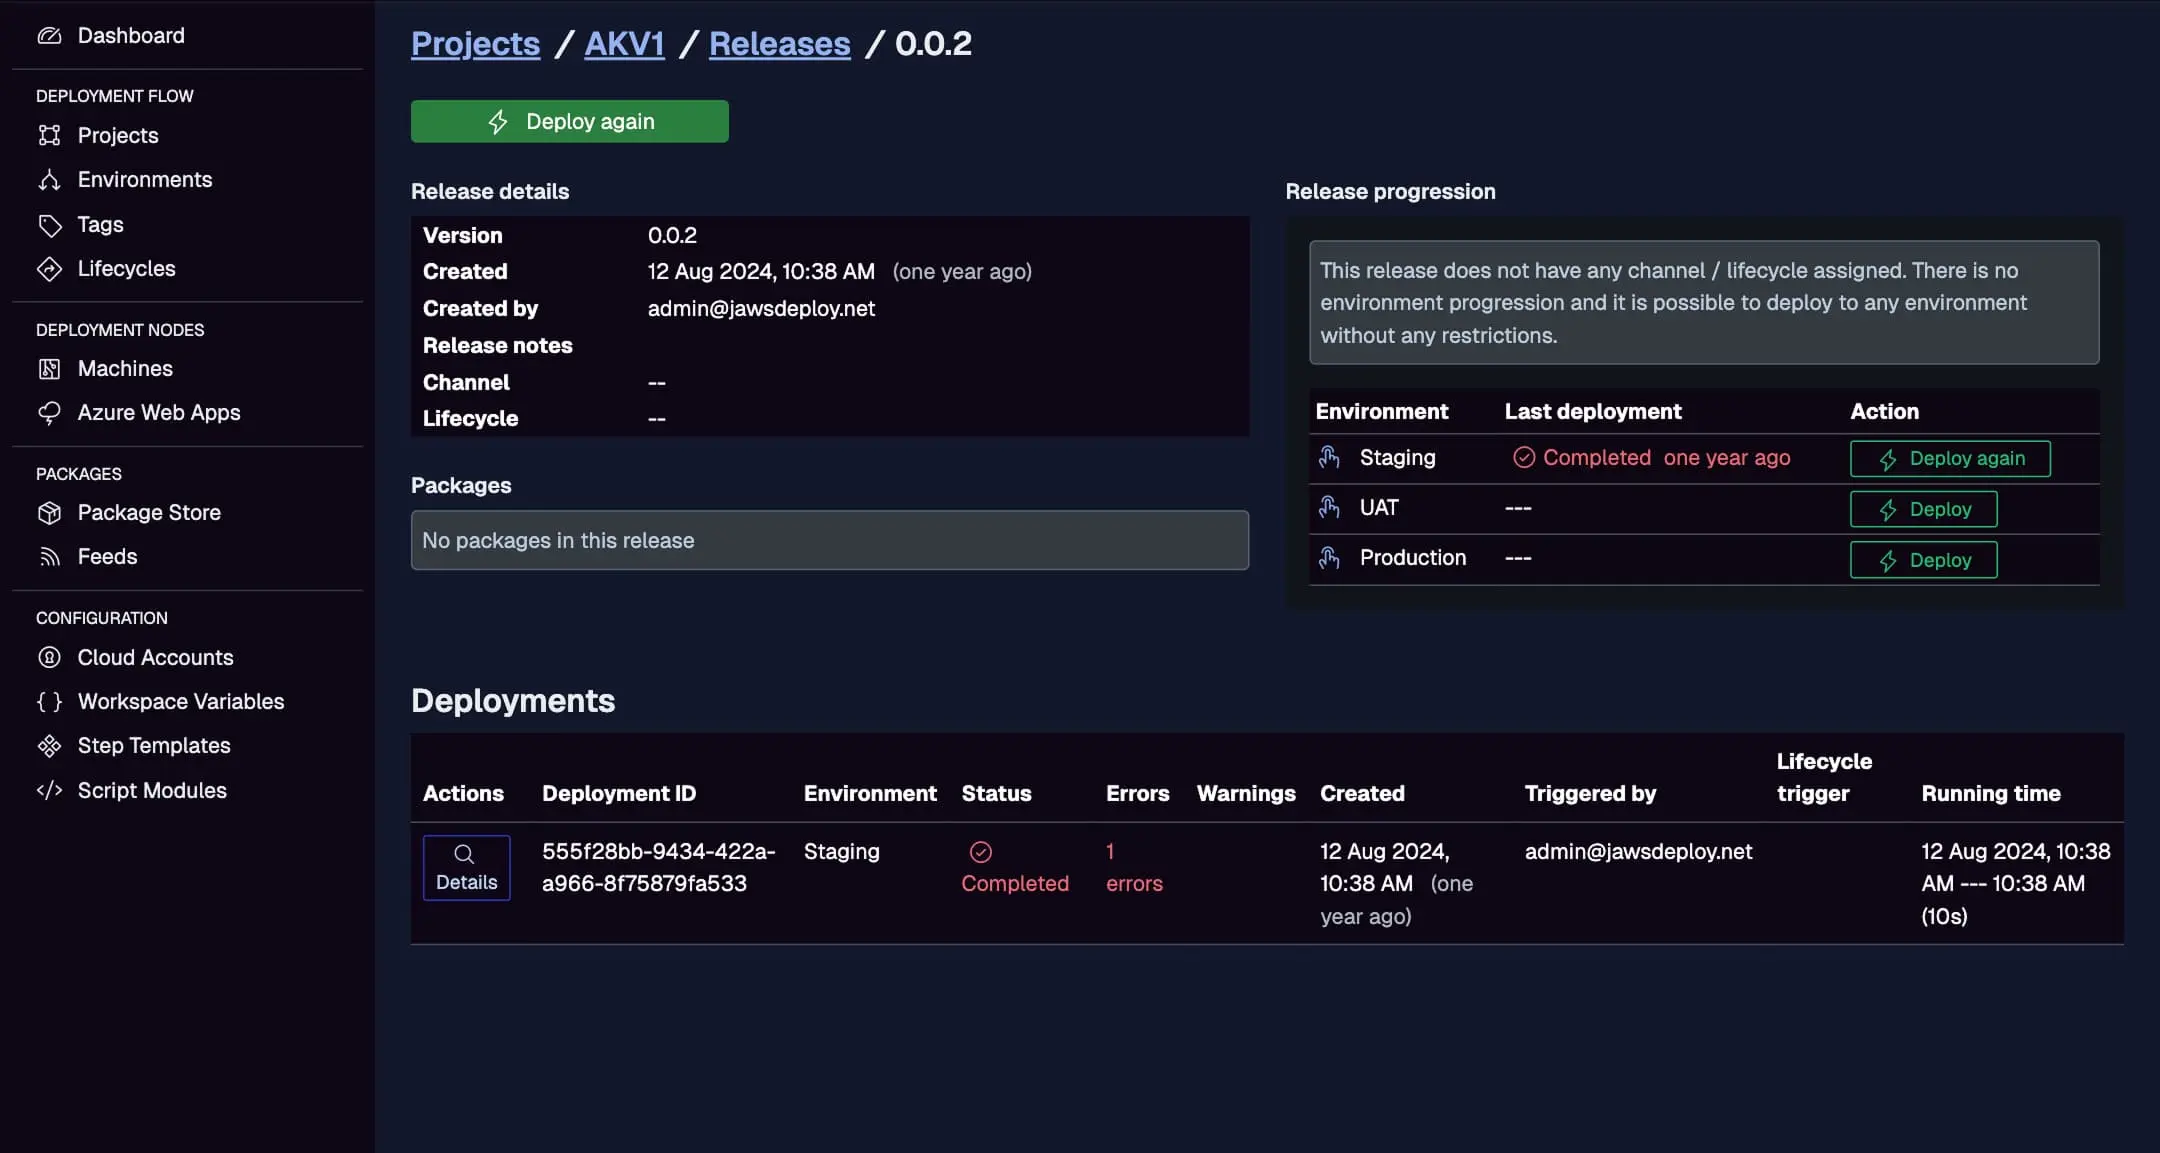
- In Jaws, monitor the Deployments tab for progress and outputs.
View BuildKite-triggered deploys here, with statuses, triggers, and timings.
Enable debug in Jaws by setting __debug to true for expanded logs.
Best Practices
- Secret Handling: Use BuildKite's environment variables or hooks for secrets; avoid committing them.
- Conditional Steps: Use
branchesorifconditions for Production deploys (e.g., on tags). - Artifacts: Upload logs or responses as artifacts for auditing.
- Error Handling: Add exit codes in scripts to fail steps on issues.
- Agent Queues: Route deploy steps to specialized agents with required tools (e.g., pwsh).
- Reusability: Use dynamic pipelines or templates for multi-project support.
Troubleshooting Common Issues
- Auth Failures: Verify env var availability and Base64 encoding.
- Upload Errors: Check file paths and API params.
- PowerShell Unavailable: Install pwsh on agents or use bash/curl alternatives.
- Step Timeouts: Optimize commands or increase agent resources.
- Logs: Use Jaws' UI for detailed deployment info.
Consult BuildKite docs or our API Reference.
Conclusion
Integrating BuildKite with Jaws Deploy creates a scalable CI/CD pipeline, combining BuildKite's agent flexibility with Jaws' deployment expertise.
For more integrations, check the CI/CD Integration Guide. Configure your pipeline now! New users: Start with the Getting Started guide.