GitHub Actions is a popular CI/CD platform built right into GitHub, allowing you to automate workflows for building, testing, and deploying code. While it's great for the "CI" part—handling builds and tests—it can get cumbersome for complex deployments involving multiple environments, configurations, and targets. That's where Jaws Deploy comes in: it takes over the "CD" orchestration, providing reusable steps, variable scoping, and live monitoring.
By integrating Jaws Deploy with GitHub Actions, you can automate release creation and deployments post-build, ensuring consistent rollouts to staging, production, or custom environments. This guide walks you through the process using Jaws' REST API or the lightweight PowerShell SDK. No native GitHub Action exists yet, but the API-driven approach is flexible and easy to set up.
We'll cover prerequisites, setup steps, an example workflow, and tips for success. Let's get your pipeline flowing smoothly.
Why Integrate Jaws Deploy with GitHub Actions?
- Seamless Handover: GitHub Actions handles builds; Jaws manages deployments with features like lifecycles for progression and tags for targeting.
- Automation Without Scripts: Avoid custom deployment scripts in your Actions workflow—let Jaws handle the logic via API calls.
- Security and Reusability: Use service accounts for auth, and scope variables in Jaws for env-specific configs.
- Visibility: Post-deployment, check status in Jaws' dashboard for logs, history, and trends.
This integration is ideal for .NET, web apps, or any project where you build artifacts (e.g., .zip packages) in Actions and deploy them via Jaws.
Prerequisites
Before starting:
- A Jaws Deploy account (sign up at https://app.jawsdeploy.net/signup if needed).
- A GitHub repository with Actions enabled.
- A Jaws project set up with steps, environments (e.g., Staging, Production), and optionally a package store for artifacts.
- Familiarity with YAML for GitHub workflows.
- GitHub Secrets for storing sensitive info (we'll use these for Jaws credentials).
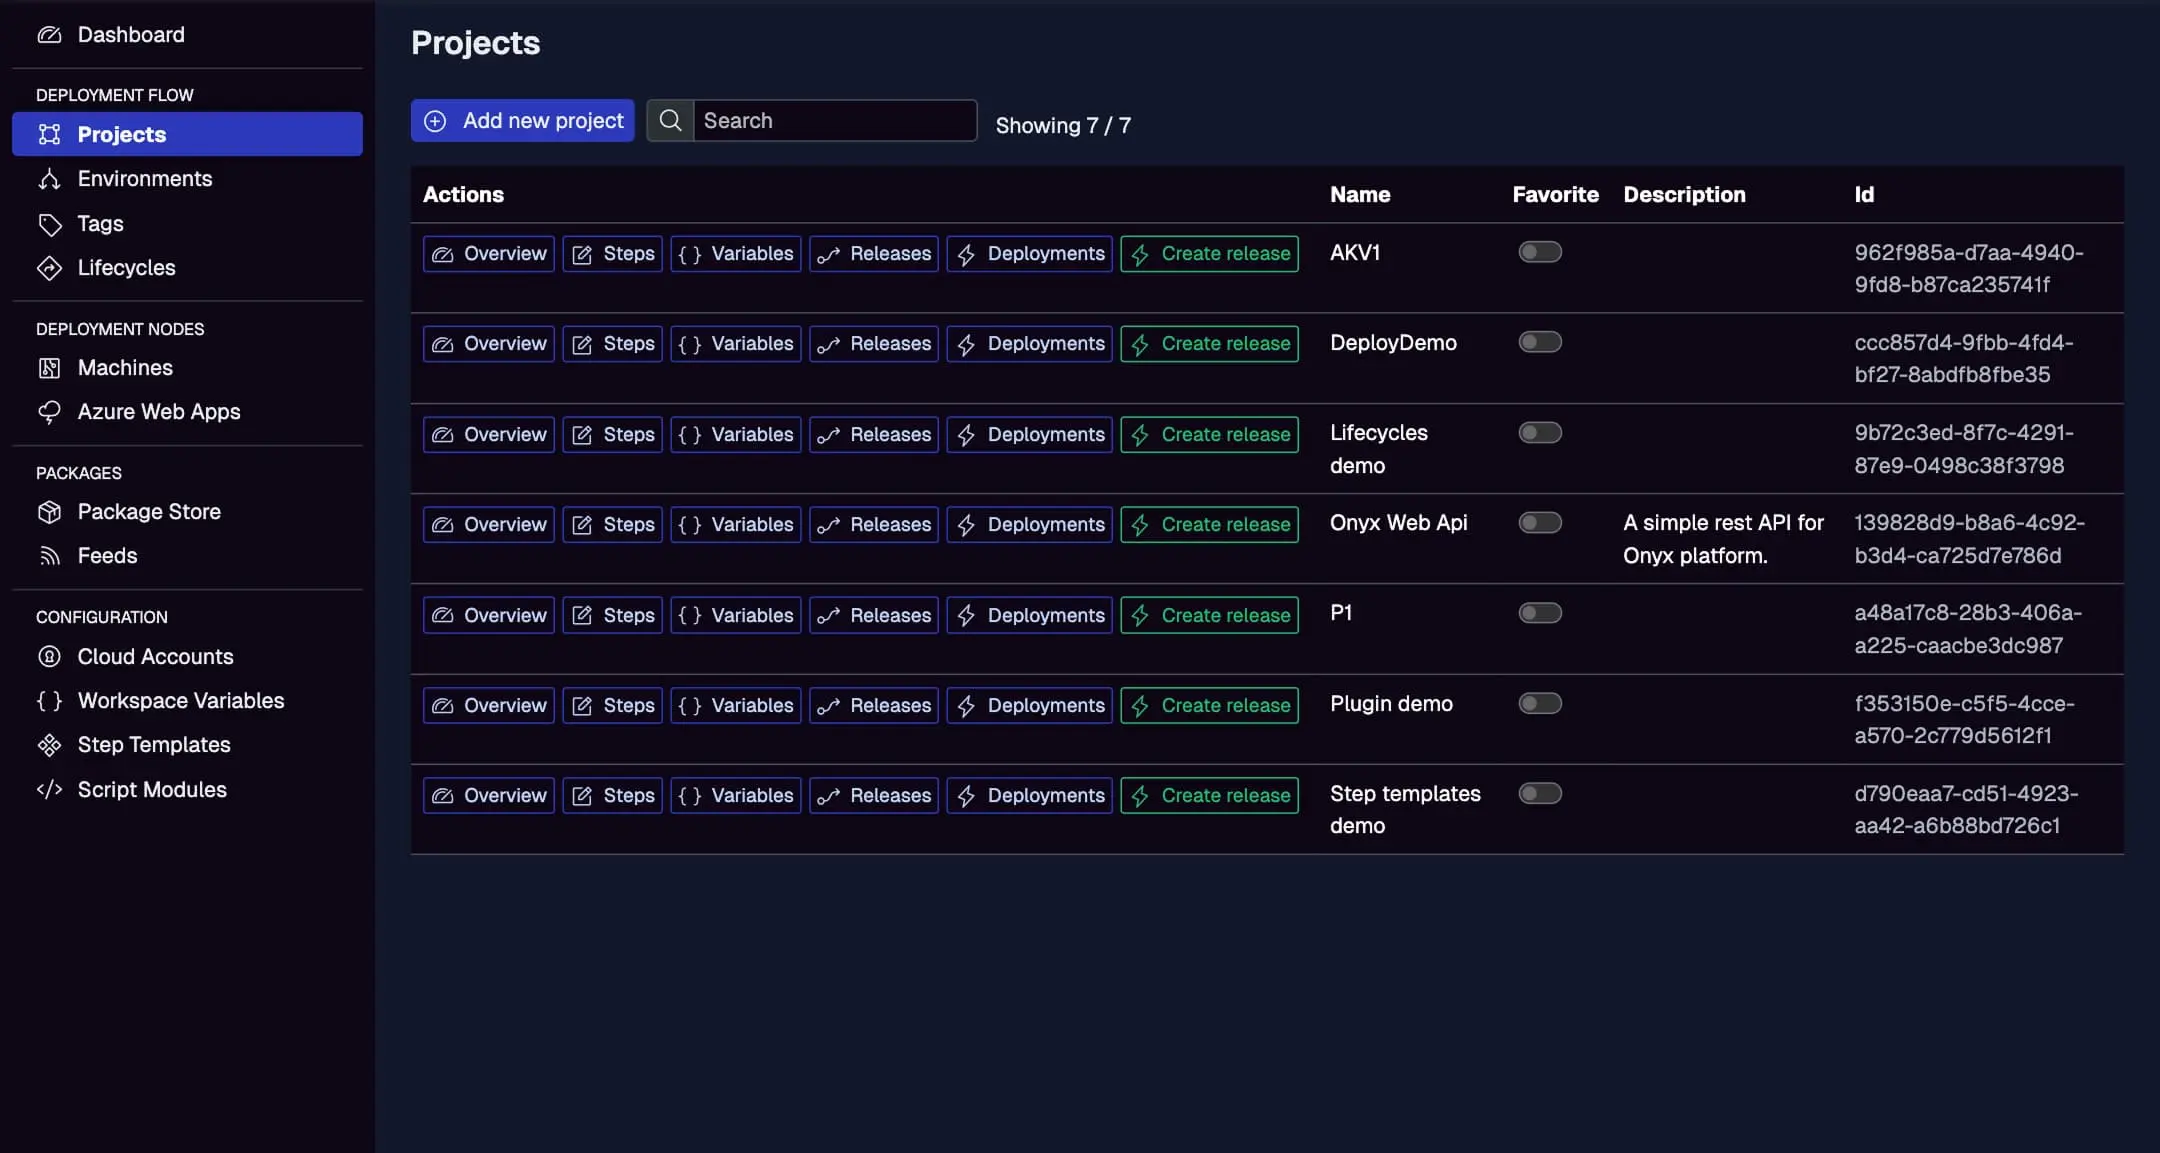
Ensure your Jaws project is ready here, with defined steps and variables.
Step 1: Create a Service Account in Jaws Deploy
Service accounts provide secure, API-only access without tying to a user login. They're perfect for CI/CD automation.
- In Jaws Deploy, go to Settings > Service Accounts (or via Admin if self-hosted).
- Click "Add Service Account."
- Name it (e.g., "GitHubActionsDeployer") and assign permissions (e.g., read/write on specific projects/workspaces).
- Generate and copy the API key—treat it like a password.
Store the service account ID and API key as GitHub Secrets:
JAWS_API_LOGIN= service account IDJAWS_API_PASSWORD= API key
This keeps credentials secure and out of your workflow YAML.
For more on service accounts, see our Service Accounts and Automation Guide.
Step 2: Choose Your Integration Method
Jaws supports two main ways to integrate:
- REST API: Direct HTTP calls using
curlor similar in your Actions workflow. Great for non-PowerShell environments. - PowerShell SDK: A zero-dependency wrapper (available on GitHub at https://github.com/JawsDeploy/powershell-sdk). Ideal if your workflow can run PowerShell.
We'll use the PowerShell SDK in our example for simplicity, but REST alternatives are noted.
Step 3: Set Up Your GitHub Actions Workflow
Create a .github/workflows/deploy.yml file in your repo. This example assumes a .NET app build that produces a .zip package.
Basic Workflow Structure
name: Build and Deploy to Jaws

on:
  push:
    branches: [ main ]

jobs:
  build:
    runs-on: ubuntu-latest
    steps:
      - uses: actions/checkout@v4
      - name: Setup .NET
        uses: actions/setup-dotnet@v4
        with:
          dotnet-version: '8.0.x'
      - name: Build
        run: dotnet build --configuration Release
      - name: Package
        run: dotnet publish -c Release -o out
      - name: Zip Artifact
        run: zip -r app.zip out/
      - name: Upload to Jaws Package Store
        run: |
          curl -X POST "<https://app.jawsdeploy.net/api/packagestore/package>" \\
            -H "Authorization: Basic $(echo -n ${{ secrets.JAWS_API_LOGIN }}:${{ secrets.JAWS_API_PASSWORD }} | base64)" \\
            -F "file=@app.zip" \\
            -F "packageId=my-app" \\
            -F "version=${{ github.run_number }}.0.0"  # Use run number or git tag for versioning

  deploy:
    needs: build
    runs-on: ubuntu-latest
    steps:
      - name: Deploy via PowerShell SDK
        uses: actions/setup-powershell@v1  # If needed for PowerShell support
        with:
          shell: pwsh
      - name: Download and Import SDK
        run: |
          Invoke-WebRequest -Uri "<https://github.com/JawsDeploy/powershell-sdk/raw/main/JawsDeploySdk.psm1>" -OutFile "JawsDeploySdk.psm1"
          Import-Module ./JawsDeploySdk.psm1
      - name: Create Release and Deploy
        env:
          JAWS_API_LOGIN: ${{ secrets.JAWS_API_LOGIN }}
          JAWS_API_PASSWORD: ${{ secrets.JAWS_API_PASSWORD }}
        run: |
          $projectId = "your-project-id"  # From Jaws Projects page
          $version = "${{ github.run_number }}.0.0"
          $resp = Invoke-ReleaseAndDeployProject -projectId $projectId -version $version -environmentName "Staging"
          Write-Output $resp
Key Explanations
- Build Job: Builds your app, creates a package, and uploads it to Jaws' package store via REST API (adapt the endpoint from /api-reference).
- Deploy Job: Downloads the SDK, sets env vars from secrets, and calls
Invoke-ReleaseAndDeployProjectto create a release and deploy to Staging. - Versioning: Use SemVer like
${{ github.run_number }}.0.0or git tags for traceability.
For pure REST (no SDK):Replace the deploy step with curl calls:
- POST to
/api/releaseto create a release. - POST to
/api/release/deployto trigger deployment.
Example curl for release creation:
curl -X POST "<https://app.jawsdeploy.net/api/release>" \\
  -H "Authorization: Basic $(echo -n $JAWS_API_LOGIN:$JAWS_API_PASSWORD | base64)" \\
  -H "Content-Type: application/json" \\
  -d '{"projectId": "your-project-id", "version": "1.2.3", "packageVersions": {"my-app": "1.2.3"}}'
Step 4: Test and Monitor
- Push to your branch to trigger the workflow.
- Check GitHub Actions logs for output.
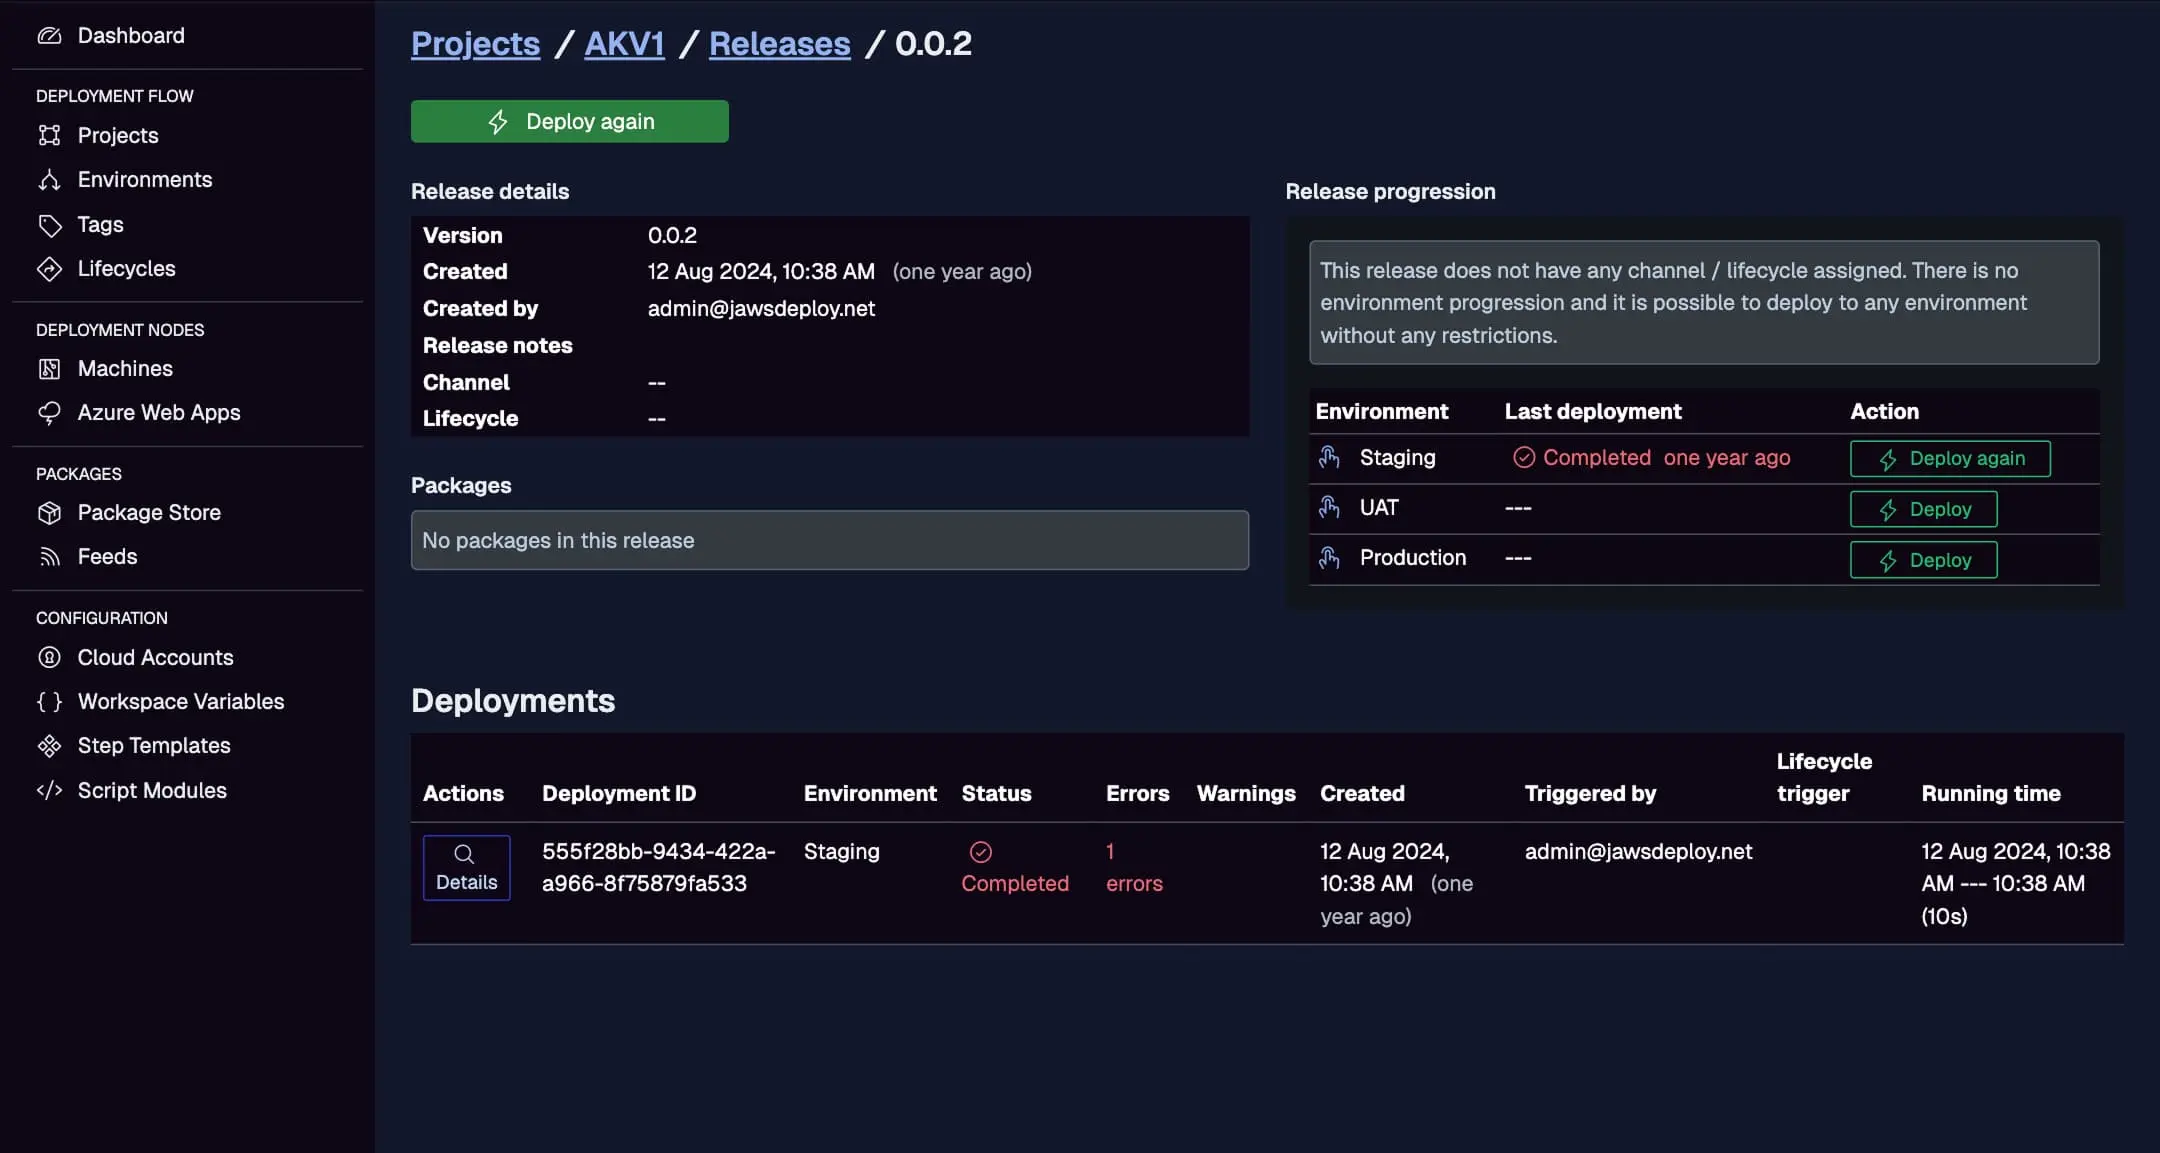
- In Jaws Deploy, go to the project's Deployments tab to view live progress, logs, and status.
Monitor the GitHub-triggered deploy here, with creation time, status, and errors.
If issues arise, enable debug mode in Jaws by setting a __debug variable to true in your project.
Best Practices
- Secure Secrets: Always use GitHub Secrets for credentials—never commit them.
- Conditional Deploys: Add
ifconditions in steps, e.g., deploy to Production only on tags (if: startsWith(github.ref, 'refs/tags/')). - Package Management: Upload artifacts to Jaws' store for versioned deploys; reference them in steps.
- Error Handling: In your workflow, check API responses and notify via Slack/email on failure.
- Scalability: For multiple projects, parameterize the workflow with inputs.
- Updates: Keep the SDK up-to-date; pin to a release if needed.
For advanced scripting (now including bash/Python support as of 2025), extend with custom steps.
Troubleshooting Common Issues
- Auth Errors: Double-check service account permissions and base64 encoding in headers.
- Package Not Found: Ensure upload succeeds and versions match in release creation.
- Timeout: Increase parallelism in Jaws steps or optimize your build.
- Logs: Use Jaws' dashboard for detailed step outputs.
If stuck, visit our API Reference or Contact Us.
Conclusion
Integrating Jaws Deploy with GitHub Actions supercharges your CD process, combining Actions' flexibility with Jaws' deployment smarts. This setup reduces manual work, boosts reliability, and scales with your team.
For more integrations, see our CI/CD Integration Guide. Ready to automate? Update your workflow and deploy with confidence! If you're new, start with Getting Started.